Safarigent wrote:Hi all,
I am taking delivery of my iof .30-06 on monday.
To begin with, congratulations on a sound choice of rifle!
What things should one look out for when picking a rifle.
Well, since most of them i.e the IOF's are all out of the same mill, the usual stuff to look out for:
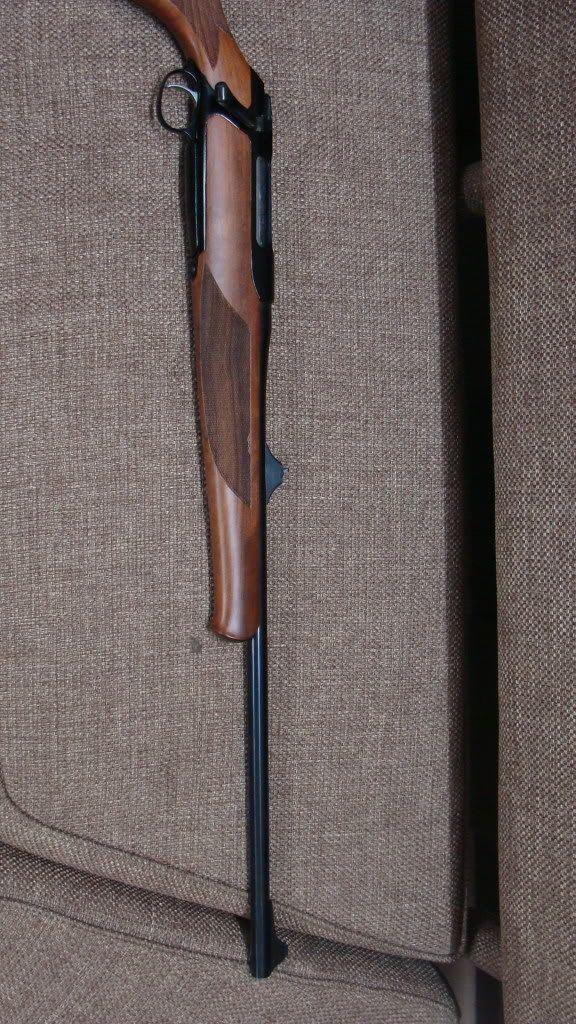
1. Smooth bolt (this is not a big deal even if it is raspy, if its slick to start with, it will take less elbow grease to get it right, there are a lot of little nooks and crannies which need a little TLC, once this is done correctly, the bolt feels like its riding on glass. The receiver should ideally not be touched with any abrasives or power tools.
2. Magazine should drop out easily and should chamber all stacked rounds easily, the dealer will lose his shirt if you ask for live ammo to check this!! Instead request for a few .30-06 snap caps, empty shells fired from another rifle will not chamber most of the time
Check the safety for proper function, with the rifle unloaded, cock the bolt and engage the safety...give it a few raps on the buttstock with your palm and on a hard surface like the floor, see it if goes off with the safety engaged do the same thing with the safety off, rifle should not go off.
And secondly, what modifications should be made to turn the rifle into a big bore competition rifle?
The sky's the limit here, I mean you can get a stock made, get a nice set of aperture sights, paint the gun, etc.
And by mods, i dont mean the cosmetic stuff.
For me, its performance over aesthetic appeal, if it looks good in the end, I consider it a bonus! Eye of the beholder!

I have no idea about the first part of my query but regarding the second i was thinking of the following:
1. Get the bolt lapped.
Bad idea, like I said, using any abrasives on the receiver will wreak havoc over time, the receiver is only a close-fitting raceway for the bolt and it should be kept that way. Proper work done on the bolt and a few parts that remain in constant contact with it will improve the feel greatly. I will post a video of this sometime soon
2. Get the trigger worked upon and get it set to have a clean crisk break with no creep.
The triggers on these guns a superb from the word 'go'. The pull weight is adjusted via means of a screw located in the magazine well, ahead of the trigger guard, the screw located behind the trigger guard is for take up, since these are two-stage triggers, but can be made to behave like a single-stage if required. It will require a good clean-up, new spring roll pins, light use of good moly grease on the pivot points and rollers will make a big difference. Note, the triggers on these rifles are a complete unit and are alien compared to the usual stuff that we understand and work on and there are absolutely NO tutorials anywhere on the net for disassembly/assembly on the Sauer 202 triggers, let alone the IOF! Take pictures along every step of the way, if you run into big problems, we can sort them out later.
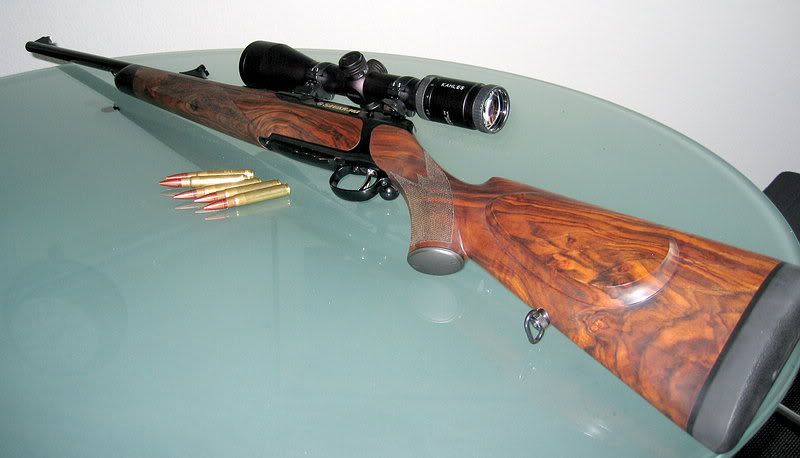
3. Get the barrel recrowned.
Good idea. Needs to be properly done though, you dont really require a lathe for this, but no harm in cutting the crown that way. Plenty of info on the web for this procedure.
4. Remove the factory sights and install peep sights(dont know which ones)
Entirely your choice, Warner, Zelenak, RPA, Lyman, Redfield, Centra, Gehmann..plenty of flavors. I personally use a Redfield Palma, its a good diopter set-up.
5. Get an adjustable butt with a butt hook.
Good idea
6. Get a long ventilated forearm with the handstop.
A good handstop is a life-saver, has to be installed right and requires a machined rail inletted into the underside of the forend, greatly reduces muscle fatigue and contributes towards overall stability.
7. The reason for the long forearm is so that i can make the rifle slightly muzzle heavy and balance that out by adding weight at the rear. End result: less muzzle flip and less felt recoil.
You can fashion a forend with a cavity up front for bolting up lead plates or anything that would add substantial weight, but remember, the heavier the set-up gets, the tougher it will be on your muscles for long periods of time.
8
. I shall test the rifle first and see how accurate it is. If required glass bed the action.
Ha! now this is not an easy gun to glass, trying to imagine the way the epoxy will behave once everything is bolted up is a nightmare! There are two ways to do this, one is relatively easy, i.e if you have done a few glass beds before, the other involves a lot of meticulous planning and extra careful preparation, but produces incredible results. I took the rocky path and ended up a happy camper!

Please feel free to chime in with your suggestions and ideas.
I am hoping to get her ready for the next big bore nationals.


")

