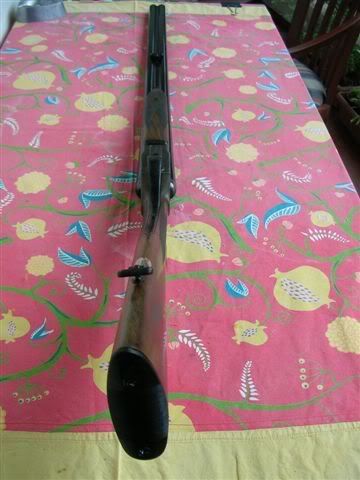
How to give your stock a BASIC oil finish
-
- We post a lot
- Posts: 5775
- Joined: Mon May 22, 2006 6:23 pm
How to give your stock a BASIC oil finish
I stress on the word basic as this is an art form and I am a long way from being proficient. However, mines an old stock and could do with a bit of nurturing and tarting up.
1) Remove all the metal bits and butt plate/pad if any as we are going to use a paint/polish stripper to remove as much of the old finish as possible without resorting to sand paper. Make sure you have a pair of rubber gloves at hand and use them!
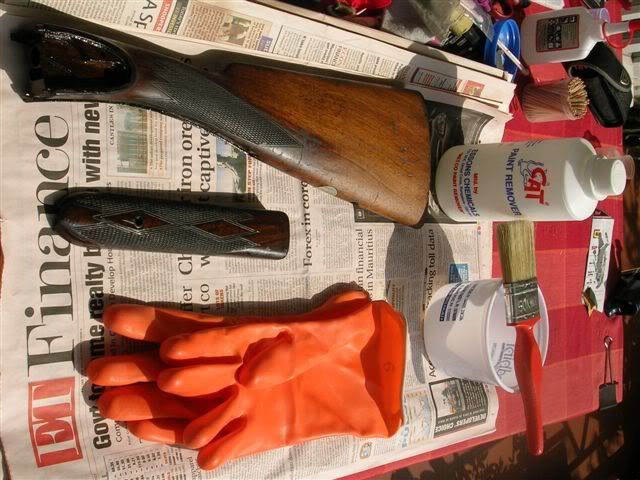
2) Apply the paint stripper with a brush, leave for five minutes and then start rubbing it off the stock with a cloth before it dries.
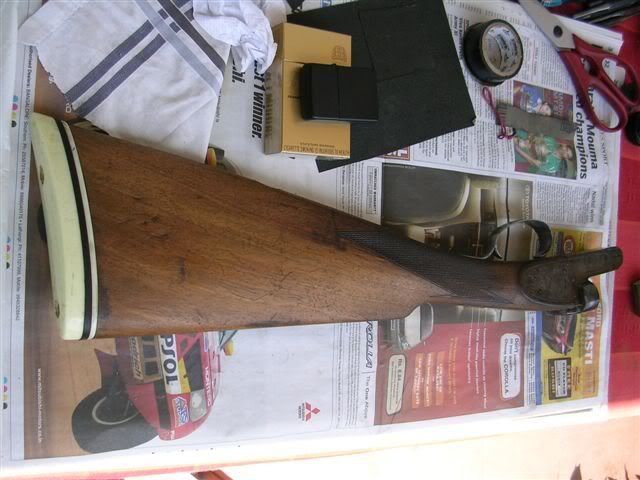
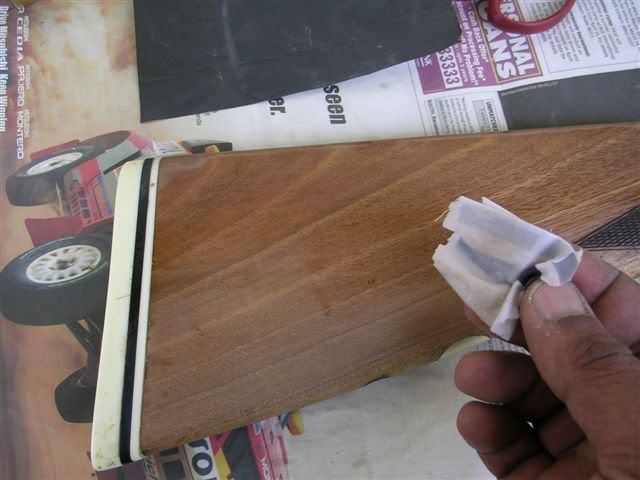
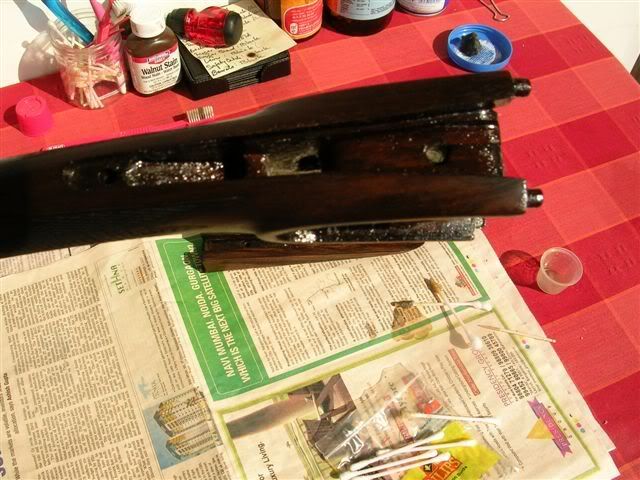
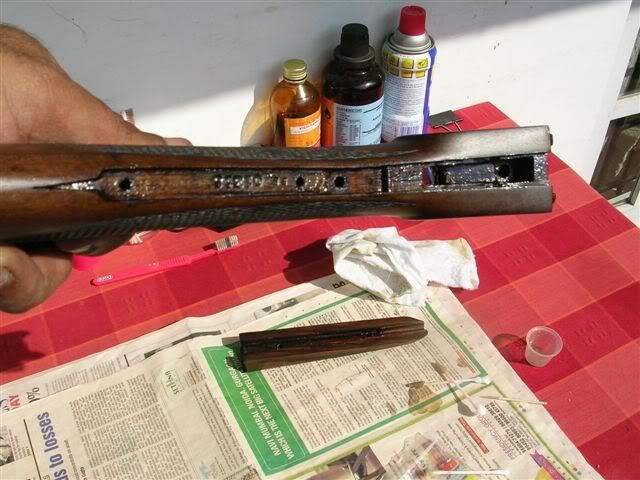
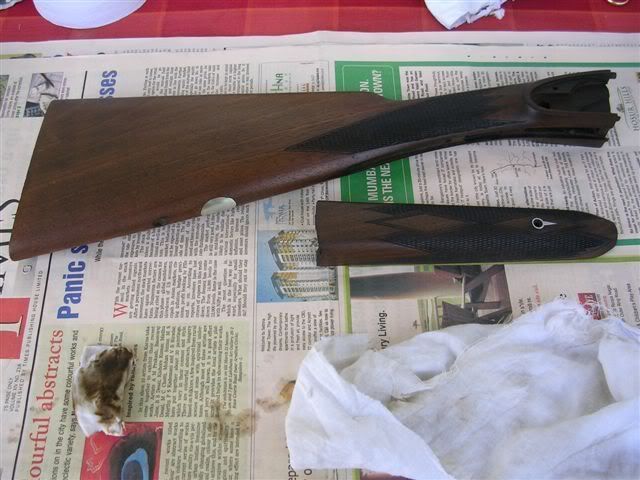
In the pic below you can compare the stripped butt stock to the untouched fore-end.
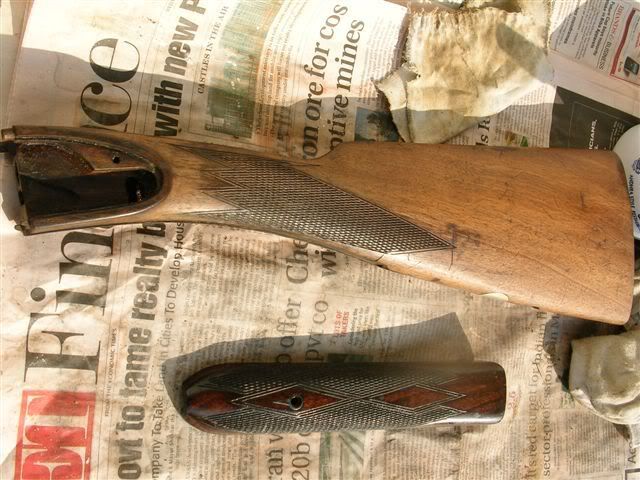
Keep a toothbrush at hand to remove the stripper from the chequering and if any gets into the inletting remove that as well.
3) Once the stripper has removed whatever it is capable of (this particular one was close to useless but I could not find the one I usually use), it is time to clean out all the gunk from the inletting and get sanding.
4) Some tips regarding sanding:
a) Always sand in the direction of the grain and never across.
b) Put back the butt plate/pad and any metal parts the stock has been inletted for. I wouldn't bother putting in the action of a bolt action rifle or an air-rifle though. This is to ensure that you do not round the edges. However, please be careful and try not to sand the metal parts. If you find this difficult, put masking tape along the edges of the metal parts. Ditto for the chequering.
c) Cut the sand paper using a scissor rather than just tearing it with your hands. Make the cut/s so that it neatly folds or rolls around a sanding block.
d) Use a sanding block rather than just your fingers. This will ensure an even sanding rather than a wave like pattern. In this case I am going to use an eraser as it provides a level surface but can always bend a bit along the contours of the stock. Basically, the sanding block must have the shape and sometimes the dimension of the surface to be sanded. For example, if you wanted to sand the barrel channel, then you would use a pipe with a circular cross-section and of the appropriate diameter.
e) Keep a toothbrush to hand to keep the chequering clean.
f) Use the same toothbrush to remove excessive sawdust from the sandpaper. I use 3M Wet or Dry which are expensive.
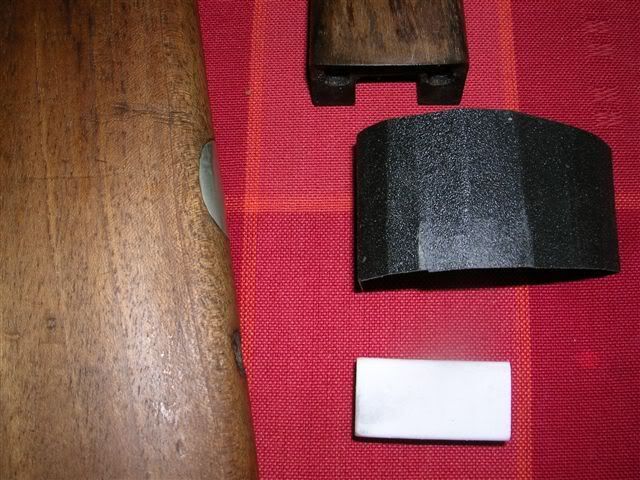
Continued on 18.3.2007:
Sanding was started at 150 grit, however, the pressure applied was moderate. Before changing to a higher grit, I clean off the saw dust with toothbrush and tissue paper and then wipe a damp (not sopping wet) cloth over the stock. One pass of the damp cloth is all that is required. Let dry. This is done to raise the loose fibres that were pressed down whilst sanding and will subsequently be sanded off the with the next highest grit.
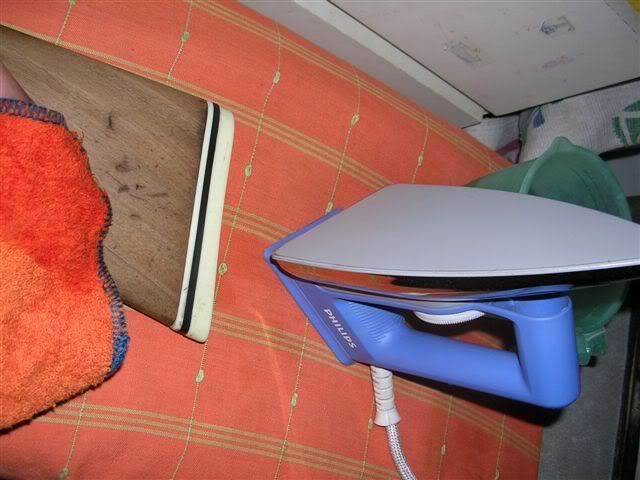
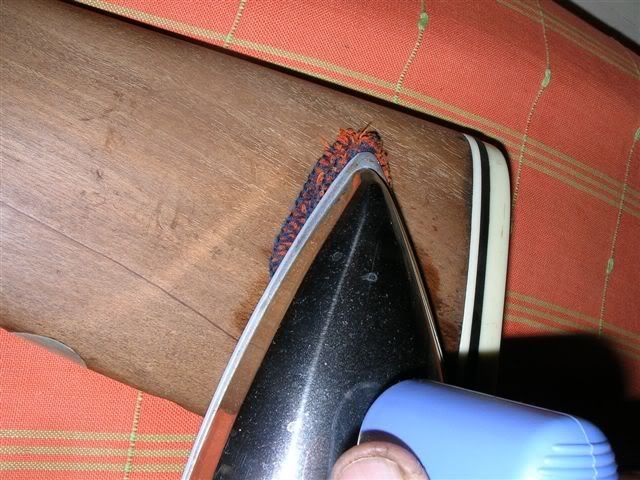
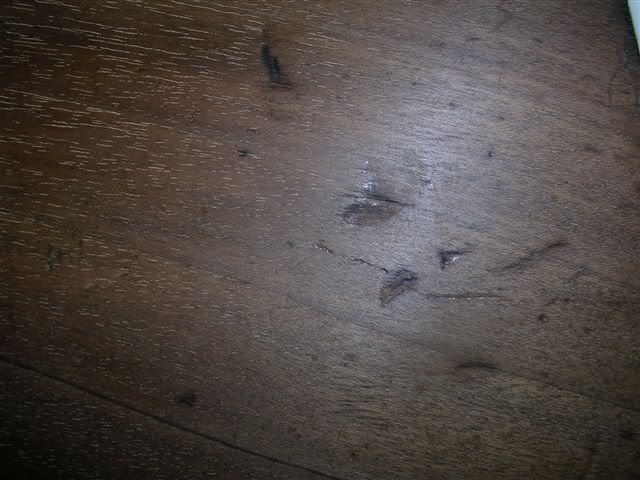
4) Raising dents: To raise a dent on the stock put a damp cloth over the dent/s and then apply light pressure over that particular point with a hot iron - preferably just the tip of the iron (what you see in the pics is a bit too much 'iron' and definitely wrong). Keep doing this until the dent raises.
As you start sanding with finer grits (I am currently on 1000), the stock will acquire a sheen of its own and the smoothness should easily surpass that of glass.
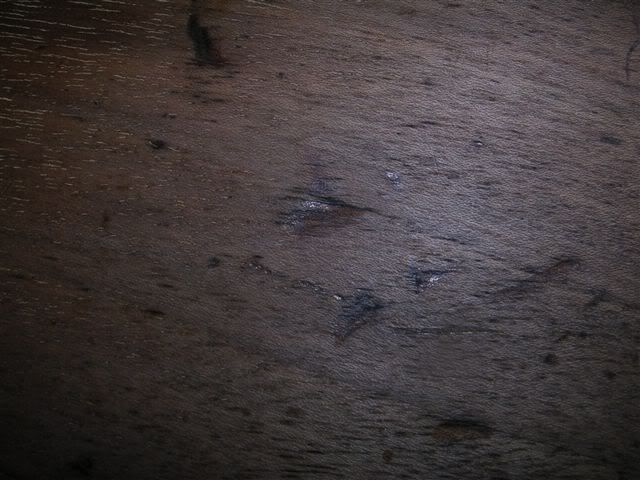
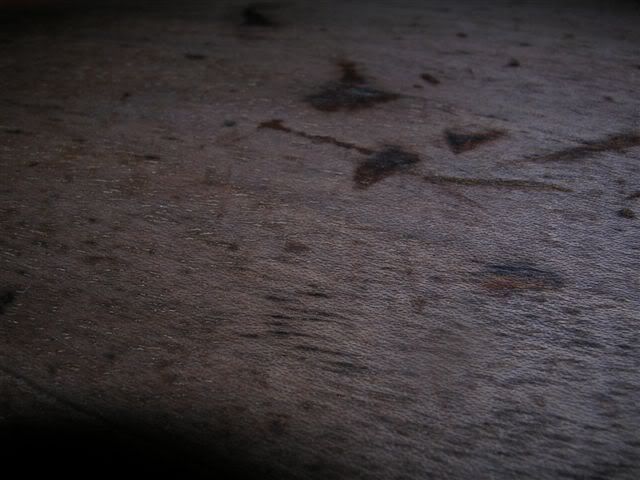
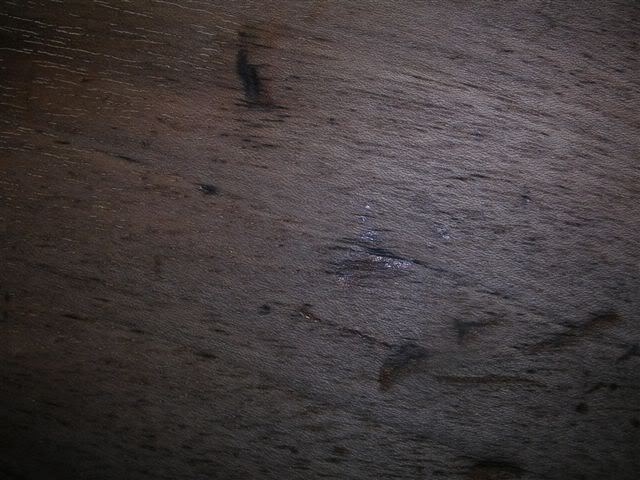
I have also been raising the dents on the butt stock between sanding sessions and the majority has been raised and only the darkish marks remain.
Once the stock has been sanded down, remove all the bits including the butt plate/pad.
Clean the stock thoroughly as well as the workplace and your hands.
Choose your stain. I have decided on Birchwood Casey's water based walnut stain as I would like to finish off what little was left.
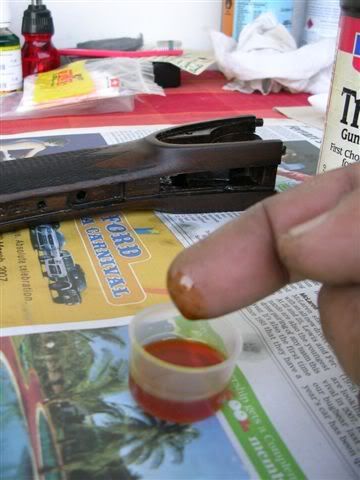
Pour some stain into a dixie cup and make a 'rubber' from a clean lint free bit of cloth.
Apply evenly on stock....
and let dry overnight.
Once dry, rub/polish the stock with tissue paper or a clean cloth along the grain. Don't be too vigorous. In case, you need to darken the stock some more then apply the stain as mentioned above. However, if you should wish to lighten the colour then you could take a clean wet sponge or cloth to remove the degree of colour as required. Remember to let it dry overnight.
One thing I must mention is that it is not necessary to stain a stock. If the bare wood has a colour that pleases you then you could skip staining and go directly to oiling the stock. To see what it would like with just the oil finish, wipe a damp cloth over the wood. This will give you an approximate idea of how much the finish would darken if you left out the stain.
Continued on 19.3.2007:
This morning the fore-end and butt stock were rubbed down first with kitchen roll paper and followed by a clean cloth.
I felt the shade of brown on the rear of the buttstock was a bit dark, so used the method mentioned above to lighten it. This is one of the advantage of using a water based stain. Make sure you wipe the wet and dry cloths along the direction of the grain and use that dry cloth as soon as possible.
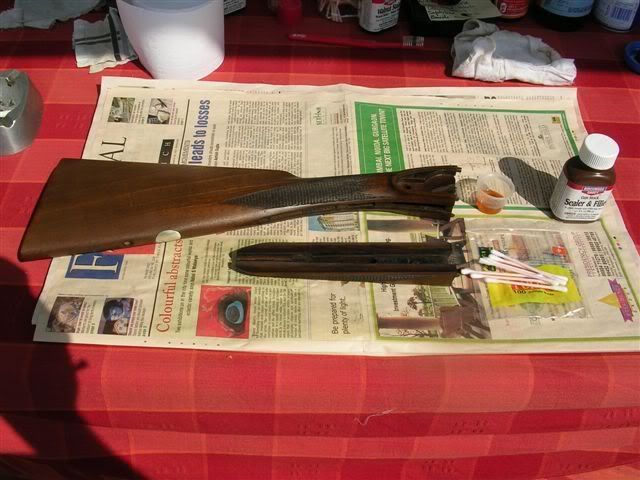
The wood was left to dry for a few hours indoors after which it was time to seal the inletted wood and rear of the stock using Birchwood Casey's Sealer and Filler. The reason for sealing these parts is because they seldom get a protective coat and hence act as a gateway for the ingress of moisture into the wood.
Pour some sealer into a dixie cup and then use a cotton ear bud, brush or just a cloth 'rubber' to apply it where required. It can also be put on the exposed surface of the stock but I am still debating whether to do so or not. I have done finishes with and without the sealer on the exposed wood and both come out well.
Apply liberally but don't leave excess behind. Once done, let the work stand until it has dried.
Continued on 20.3.2007:
Today we finally start applying the oil finish. This is applied in several coats. Between each coat the oil must be permitted to dry completely before applying the next.
I will be using Birchwood Casey's Tru Oil.
A few points to keep in mind:
a) Keep the work area clean and dust free.
b) Clean the wood work and rub it down with a clean dry cloth to get rid of finger prints before applying oil. Use a clean toothbrush to ensure the chequering is dust free.
c) Use your finger tip or a 'rubber' to apply the oil and keep rubbing it in until it starts feeling warm / hot. I use my index finger and the ball of my palm. Expect to get blisters from the friction.
d) Rub in the direction of the grain. Some people use a circular motion.
e) Pour some oil into a clean dixie cup and keep the main oil bottle covered at all other times as the oil tends to develop a skin and you do not want to waste something that is not available in India. If there is any surplus oil in the dixie cup after you finish, cover it with cling film.
f) This is very important. Before you apply the oil make sure you have a clean dust free place in which the work can be kept to dry and also decide beforehand how you will stand or suspend the wood work without the oiled parts touching anything.
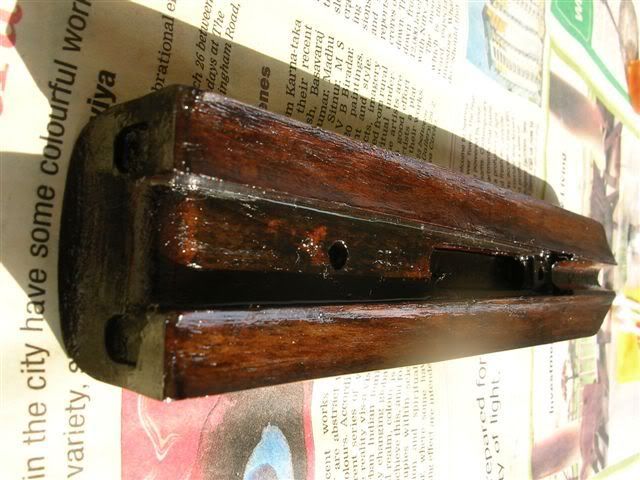
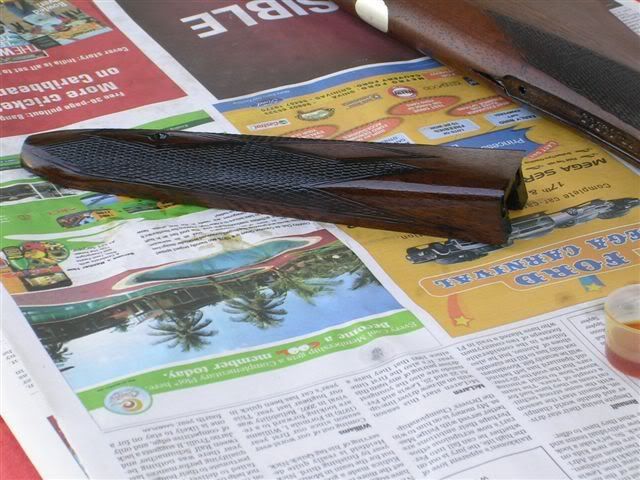
Here's the fore-end with its first coat of oil.
Here's a pic showing the butt stock with its first coat of oil. It's not as dark as it appears in the pic and we will turn that horrid gloss into a satin finish later.
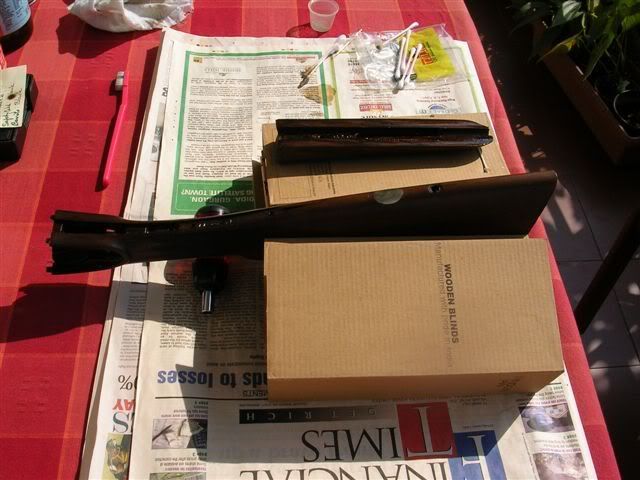
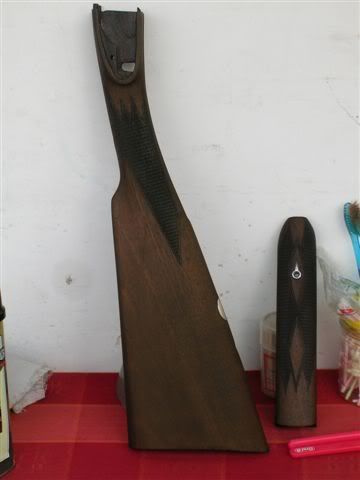
Next is a bad pic but I think it will give you an idea of how and where to suspend the stock whilst it dries.
BTW, this Tru Oil is a bit sticky. However, once you have finished applying a coat of oil don't wash your hands with soap and water, as that will make it worse. Instead use a rag or kitchen towel to do the needful and then wash after 30 minutes or so.
Continued on 21.3.2007:
It has become humid and as a result of which the oil is taking 24 hours or a little more to dry.
The following pic shows the butt stock after it's first oil finish was cut back using 0000 grade wire wool and the fore-end with it's second coat of oil.
Continued on 23.3.2007:
The butt stock and fore-end are on their third and fourth coats respectively.
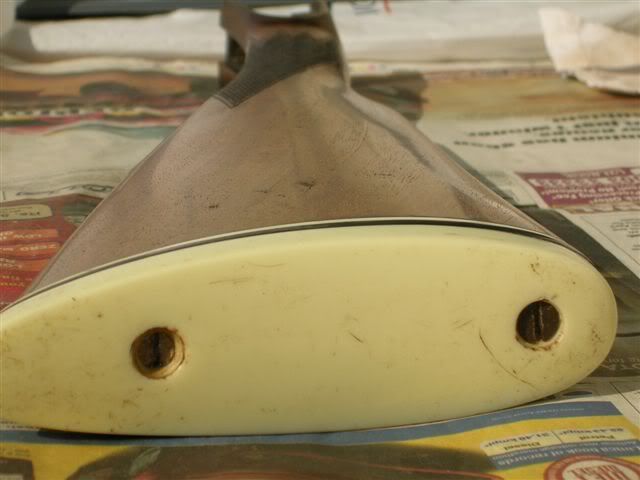
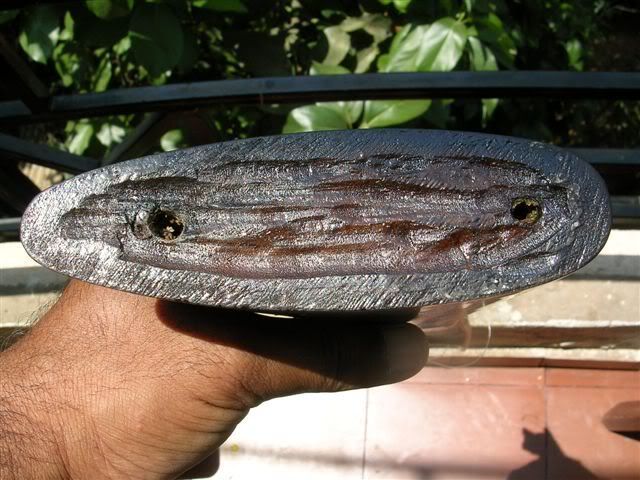
Before starting on the third coat, I decided to trim the butt plate received on the 21st as it wasn't an exact fit and neither were the holes in the plate and stock aligning.
I decided not to alter the position of the hole near the heel as the plate was protruding by no more than a couple of millimetres. The excess was to be ground / filed off. The screws seen are not original but they were more or less the right size and the only one's I had at hand. It would have been nice if they were slotted headed screws in keeping with the guns vintage.
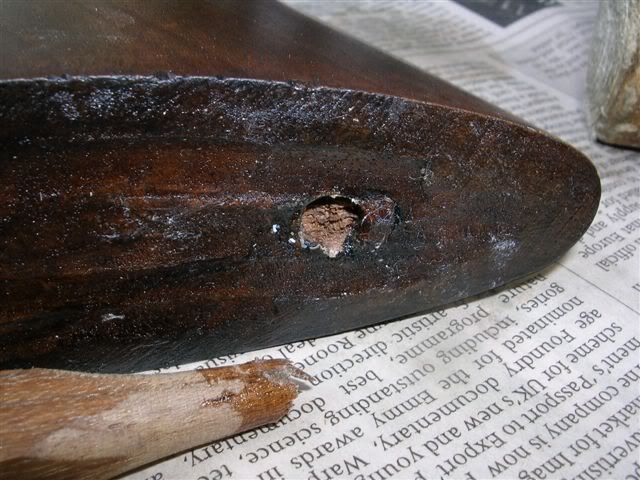
Before I could drill a new hole for the screw in the toe region, I had to fill in the existing hole.
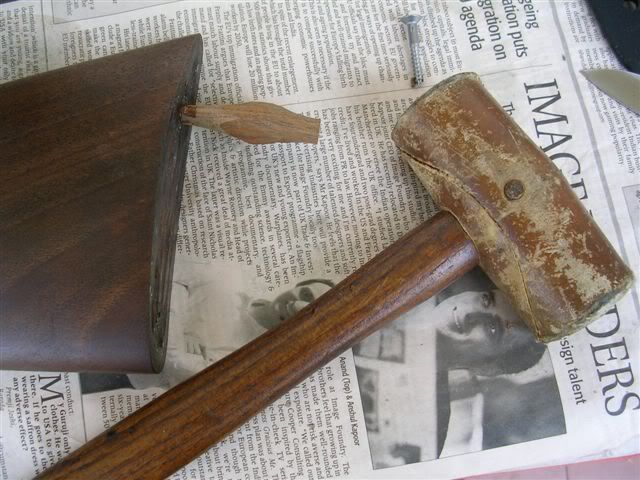
Take a wooden dowel and whittle it to an approximate diameter, then use sandpaper to finish. Catch the end that is to be inserted with the sandpaper and then rotate the dowel as if sharpening a pencil.
Clean out the existing hole and check for fit.
Put a couple of drops of glue into the hole and push the dowel in. Use a mallet to lightly tap it in as well.
Then use the mallet to break off the balance. Oops! this one broke a little short.
Put the plate back on and using a smaller drill bit, drill through the centre of the plate's hole. This is the pilot hole. Then go one size bigger until you reach the right size. Once done, screw down the wood screw.
Now file/grind of the excess plate material. It would be advisable to mask the end of the stock with masking tape lest you make a mistake and damage the finish.
Once your last coat of oil has dried, you have three options:
1) Rub the stock down with a polishing cloth and assemble the gun.
2) Same as No.1 above but wax and buff the stock before assembling the gun.
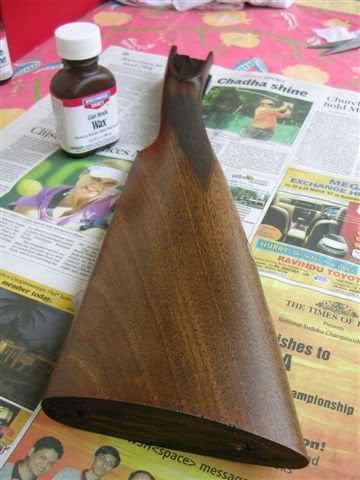
3) Use 0000 grade wire wool or Birchwood Casey's Stock Sheen & Conditioner to cut down on the gloss. Follow this up with a wax and buff before assembling the gun.
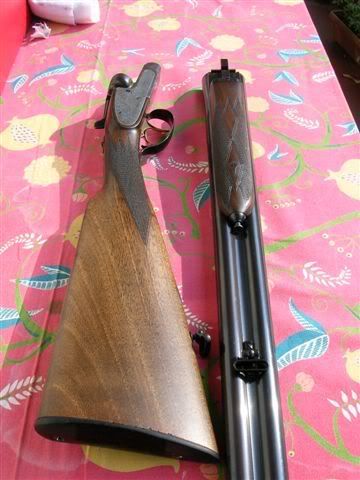
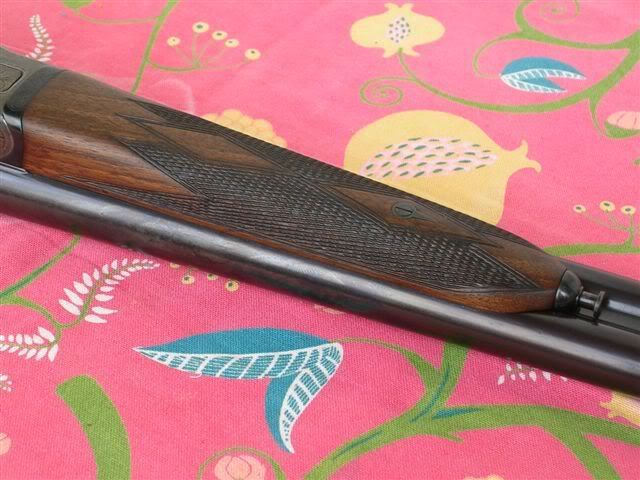
The following pictures show option No.3 being employed.
Mack The Knife
1) Remove all the metal bits and butt plate/pad if any as we are going to use a paint/polish stripper to remove as much of the old finish as possible without resorting to sand paper. Make sure you have a pair of rubber gloves at hand and use them!
2) Apply the paint stripper with a brush, leave for five minutes and then start rubbing it off the stock with a cloth before it dries.
In the pic below you can compare the stripped butt stock to the untouched fore-end.
Keep a toothbrush at hand to remove the stripper from the chequering and if any gets into the inletting remove that as well.
3) Once the stripper has removed whatever it is capable of (this particular one was close to useless but I could not find the one I usually use), it is time to clean out all the gunk from the inletting and get sanding.
4) Some tips regarding sanding:
a) Always sand in the direction of the grain and never across.
b) Put back the butt plate/pad and any metal parts the stock has been inletted for. I wouldn't bother putting in the action of a bolt action rifle or an air-rifle though. This is to ensure that you do not round the edges. However, please be careful and try not to sand the metal parts. If you find this difficult, put masking tape along the edges of the metal parts. Ditto for the chequering.
c) Cut the sand paper using a scissor rather than just tearing it with your hands. Make the cut/s so that it neatly folds or rolls around a sanding block.
d) Use a sanding block rather than just your fingers. This will ensure an even sanding rather than a wave like pattern. In this case I am going to use an eraser as it provides a level surface but can always bend a bit along the contours of the stock. Basically, the sanding block must have the shape and sometimes the dimension of the surface to be sanded. For example, if you wanted to sand the barrel channel, then you would use a pipe with a circular cross-section and of the appropriate diameter.
e) Keep a toothbrush to hand to keep the chequering clean.
f) Use the same toothbrush to remove excessive sawdust from the sandpaper. I use 3M Wet or Dry which are expensive.
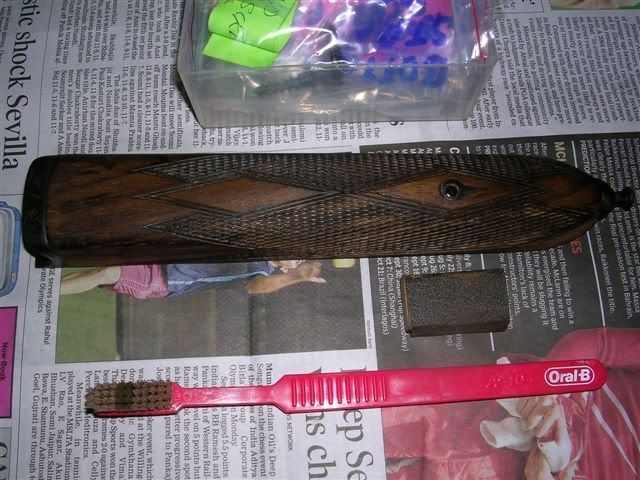
Continued on 18.3.2007:
Sanding was started at 150 grit, however, the pressure applied was moderate. Before changing to a higher grit, I clean off the saw dust with toothbrush and tissue paper and then wipe a damp (not sopping wet) cloth over the stock. One pass of the damp cloth is all that is required. Let dry. This is done to raise the loose fibres that were pressed down whilst sanding and will subsequently be sanded off the with the next highest grit.
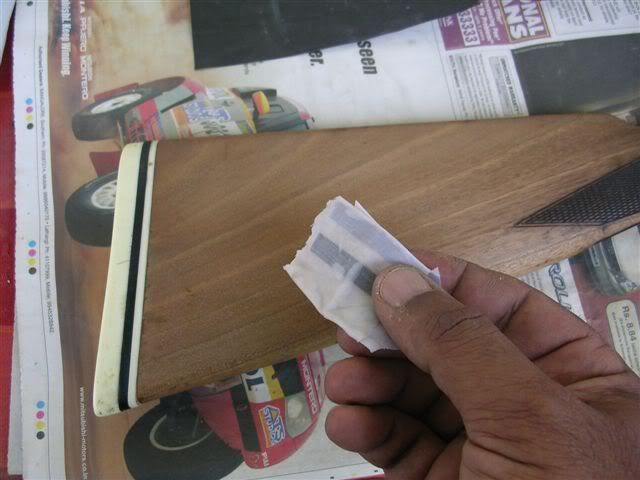
4) Raising dents: To raise a dent on the stock put a damp cloth over the dent/s and then apply light pressure over that particular point with a hot iron - preferably just the tip of the iron (what you see in the pics is a bit too much 'iron' and definitely wrong). Keep doing this until the dent raises.
As you start sanding with finer grits (I am currently on 1000), the stock will acquire a sheen of its own and the smoothness should easily surpass that of glass.
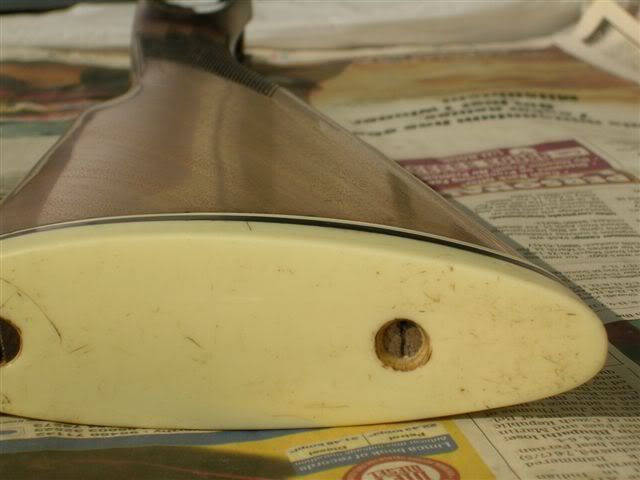
I have also been raising the dents on the butt stock between sanding sessions and the majority has been raised and only the darkish marks remain.
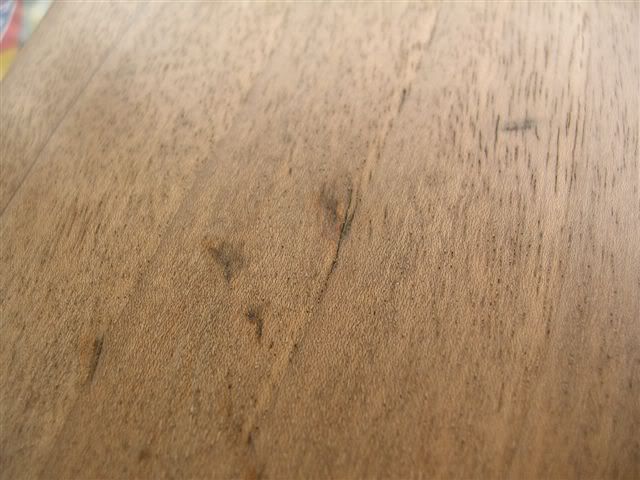
Once the stock has been sanded down, remove all the bits including the butt plate/pad.
Clean the stock thoroughly as well as the workplace and your hands.
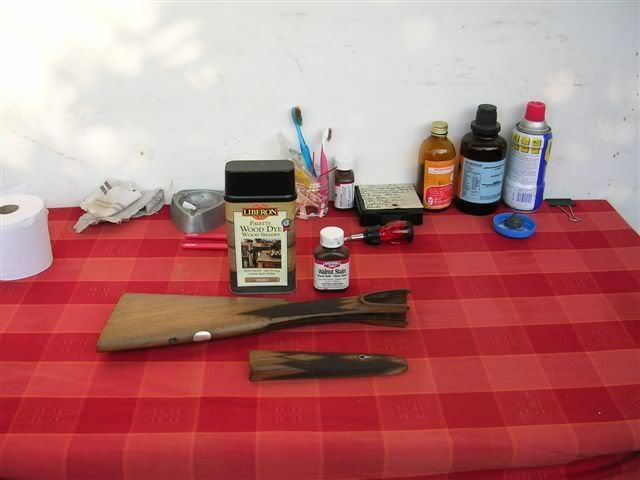
Choose your stain. I have decided on Birchwood Casey's water based walnut stain as I would like to finish off what little was left.
Pour some stain into a dixie cup and make a 'rubber' from a clean lint free bit of cloth.
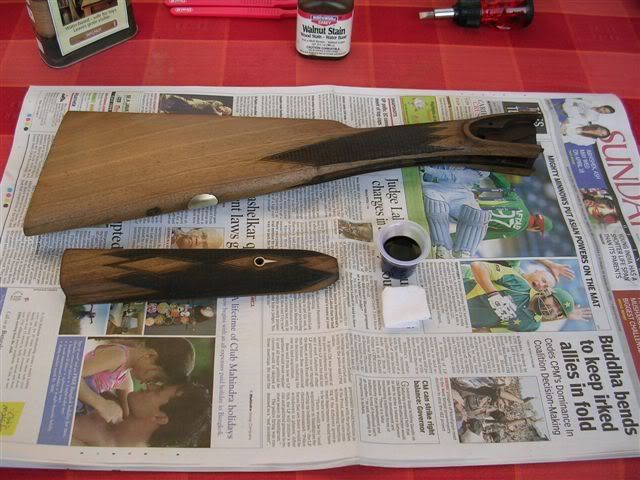
Apply evenly on stock....
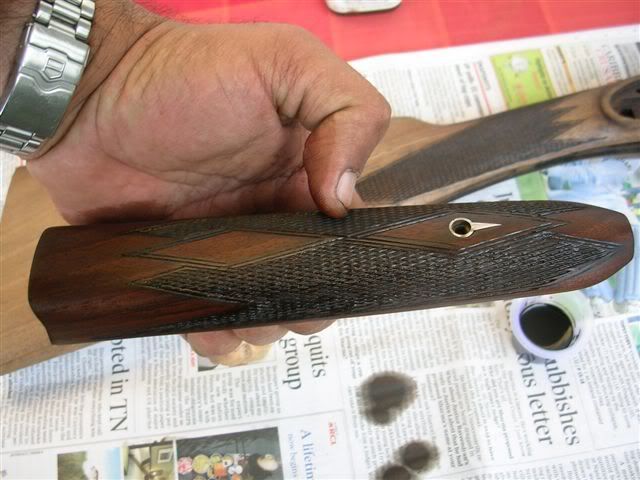
and let dry overnight.
Once dry, rub/polish the stock with tissue paper or a clean cloth along the grain. Don't be too vigorous. In case, you need to darken the stock some more then apply the stain as mentioned above. However, if you should wish to lighten the colour then you could take a clean wet sponge or cloth to remove the degree of colour as required. Remember to let it dry overnight.
One thing I must mention is that it is not necessary to stain a stock. If the bare wood has a colour that pleases you then you could skip staining and go directly to oiling the stock. To see what it would like with just the oil finish, wipe a damp cloth over the wood. This will give you an approximate idea of how much the finish would darken if you left out the stain.
Continued on 19.3.2007:
This morning the fore-end and butt stock were rubbed down first with kitchen roll paper and followed by a clean cloth.
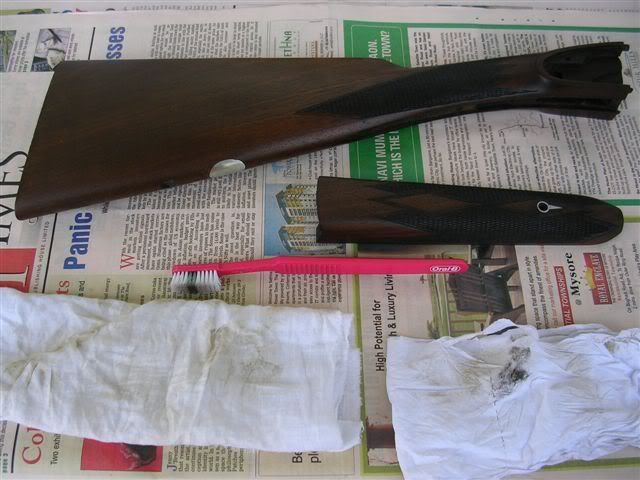
I felt the shade of brown on the rear of the buttstock was a bit dark, so used the method mentioned above to lighten it. This is one of the advantage of using a water based stain. Make sure you wipe the wet and dry cloths along the direction of the grain and use that dry cloth as soon as possible.
The wood was left to dry for a few hours indoors after which it was time to seal the inletted wood and rear of the stock using Birchwood Casey's Sealer and Filler. The reason for sealing these parts is because they seldom get a protective coat and hence act as a gateway for the ingress of moisture into the wood.
Pour some sealer into a dixie cup and then use a cotton ear bud, brush or just a cloth 'rubber' to apply it where required. It can also be put on the exposed surface of the stock but I am still debating whether to do so or not. I have done finishes with and without the sealer on the exposed wood and both come out well.
Apply liberally but don't leave excess behind. Once done, let the work stand until it has dried.
Continued on 20.3.2007:
Today we finally start applying the oil finish. This is applied in several coats. Between each coat the oil must be permitted to dry completely before applying the next.
I will be using Birchwood Casey's Tru Oil.
A few points to keep in mind:
a) Keep the work area clean and dust free.
b) Clean the wood work and rub it down with a clean dry cloth to get rid of finger prints before applying oil. Use a clean toothbrush to ensure the chequering is dust free.
c) Use your finger tip or a 'rubber' to apply the oil and keep rubbing it in until it starts feeling warm / hot. I use my index finger and the ball of my palm. Expect to get blisters from the friction.
d) Rub in the direction of the grain. Some people use a circular motion.
e) Pour some oil into a clean dixie cup and keep the main oil bottle covered at all other times as the oil tends to develop a skin and you do not want to waste something that is not available in India. If there is any surplus oil in the dixie cup after you finish, cover it with cling film.
f) This is very important. Before you apply the oil make sure you have a clean dust free place in which the work can be kept to dry and also decide beforehand how you will stand or suspend the wood work without the oiled parts touching anything.
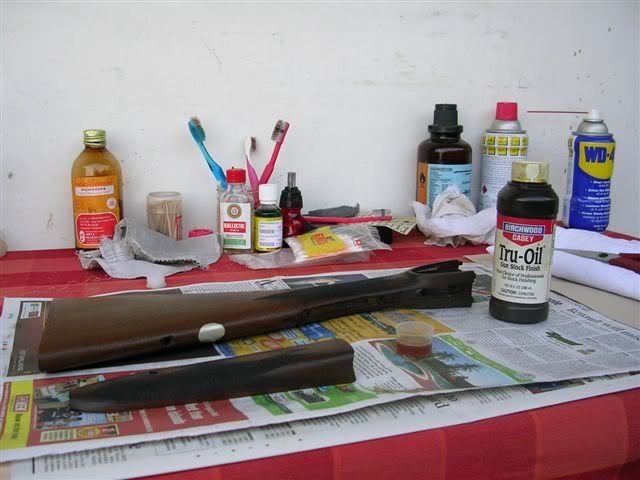
Here's the fore-end with its first coat of oil.
Here's a pic showing the butt stock with its first coat of oil. It's not as dark as it appears in the pic and we will turn that horrid gloss into a satin finish later.
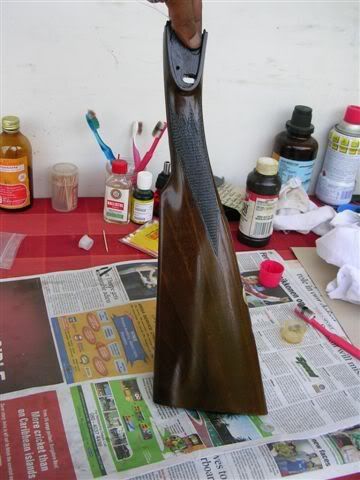
Next is a bad pic but I think it will give you an idea of how and where to suspend the stock whilst it dries.
BTW, this Tru Oil is a bit sticky. However, once you have finished applying a coat of oil don't wash your hands with soap and water, as that will make it worse. Instead use a rag or kitchen towel to do the needful and then wash after 30 minutes or so.
Continued on 21.3.2007:
It has become humid and as a result of which the oil is taking 24 hours or a little more to dry.
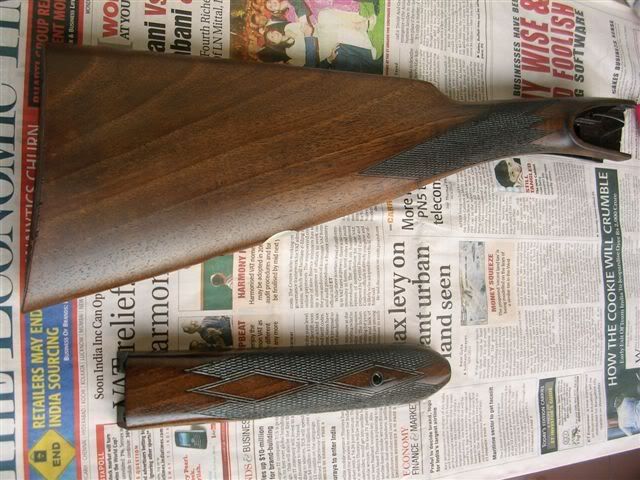
The following pic shows the butt stock after it's first oil finish was cut back using 0000 grade wire wool and the fore-end with it's second coat of oil.
Continued on 23.3.2007:
The butt stock and fore-end are on their third and fourth coats respectively.
Before starting on the third coat, I decided to trim the butt plate received on the 21st as it wasn't an exact fit and neither were the holes in the plate and stock aligning.
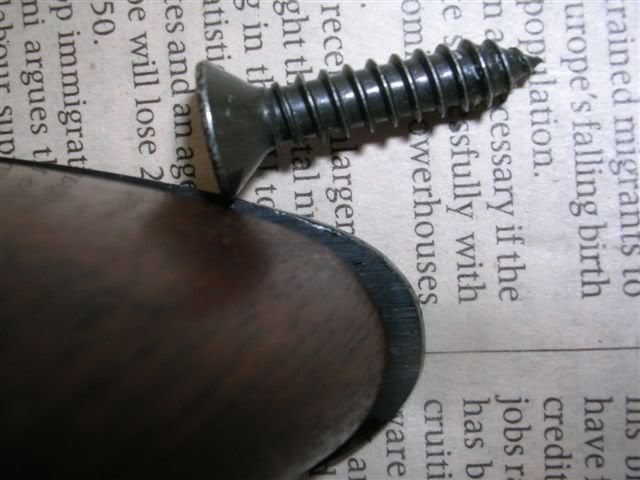
I decided not to alter the position of the hole near the heel as the plate was protruding by no more than a couple of millimetres. The excess was to be ground / filed off. The screws seen are not original but they were more or less the right size and the only one's I had at hand. It would have been nice if they were slotted headed screws in keeping with the guns vintage.
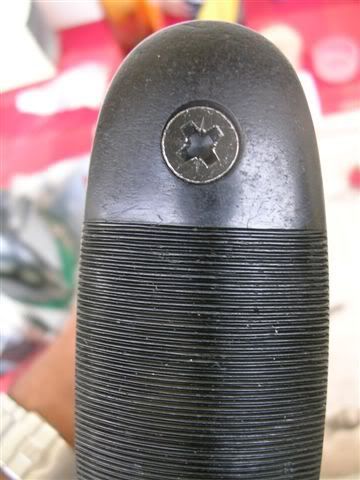
Before I could drill a new hole for the screw in the toe region, I had to fill in the existing hole.
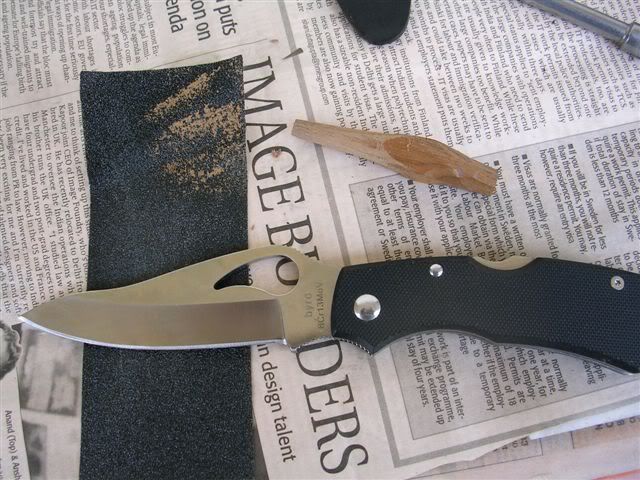
Take a wooden dowel and whittle it to an approximate diameter, then use sandpaper to finish. Catch the end that is to be inserted with the sandpaper and then rotate the dowel as if sharpening a pencil.
Clean out the existing hole and check for fit.
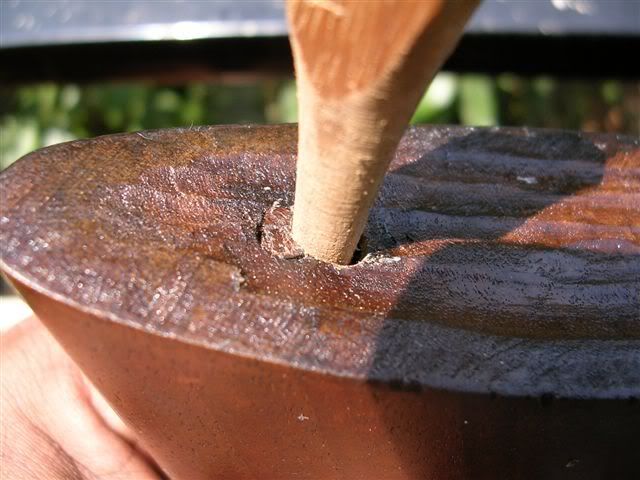
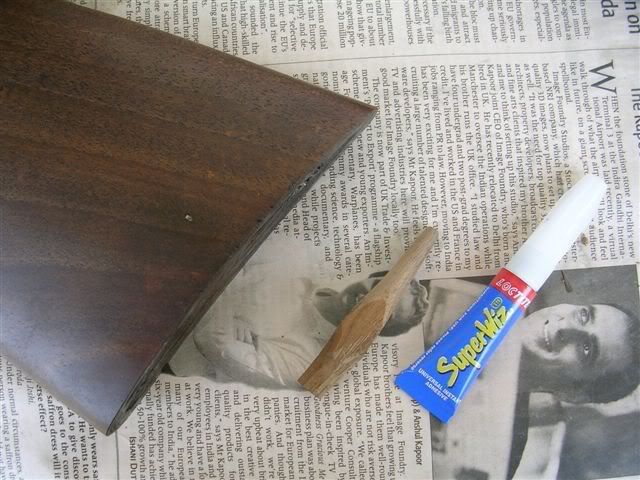
Put a couple of drops of glue into the hole and push the dowel in. Use a mallet to lightly tap it in as well.
Then use the mallet to break off the balance. Oops! this one broke a little short.
Put the plate back on and using a smaller drill bit, drill through the centre of the plate's hole. This is the pilot hole. Then go one size bigger until you reach the right size. Once done, screw down the wood screw.
Now file/grind of the excess plate material. It would be advisable to mask the end of the stock with masking tape lest you make a mistake and damage the finish.
Once your last coat of oil has dried, you have three options:
1) Rub the stock down with a polishing cloth and assemble the gun.
2) Same as No.1 above but wax and buff the stock before assembling the gun.
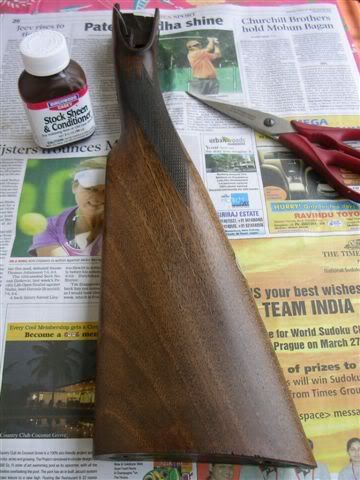
3) Use 0000 grade wire wool or Birchwood Casey's Stock Sheen & Conditioner to cut down on the gloss. Follow this up with a wax and buff before assembling the gun.
The following pictures show option No.3 being employed.
Mack The Knife
Last edited by Mack The Knife on Mon Mar 26, 2007 7:09 pm, edited 21 times in total.
- eljefe
- Old Timer
- Posts: 2871
- Joined: Sun Jun 04, 2006 3:37 am
- Vikram
- We post a lot
- Posts: 5107
- Joined: Fri Jun 02, 2006 6:14 am
- Location: Tbilisi,Georgia
Re: How to give your stock a BASIC oil finish.
Thanks Mack The Knife.For sharing with us. I am really glad that someone has such interest and passion for doing everything by himself. BTW, are you planning to steam out,fill in those dings etc?Just curious.If Yes,could you please post the pics of that process also?
Best-
Vikram
Best-
Vikram
It ain’t over ’til it’s over! "Rocky,Rocky,Rocky....."
-
- We post a lot
- Posts: 5775
- Joined: Mon May 22, 2006 6:23 pm
Hi Vikram,
The dents will be steamed out. I will describe the process when I come to that stage. Beech is a bit of a beetch to raise. This may be walnut though.
Whilst I haven't consulted Grumpy on the wood finishing, the amount of time he has put in advising me on other aspects of shotguns could fill a 100 page note book and we have only just begun.
Hats off to the man for his patience and putting up with my tetchiness - at times.
Mack The Knife
-
- We post a lot
- Posts: 5775
- Joined: Mon May 22, 2006 6:23 pm
Re: How to give your stock a BASIC oil finish.
Vikram,Vikram";p="14737 wrote:I am really glad that someone has such interest and passion for doing everything by himself.
If I had the choice, I'd open my wallet and let someone else do the dirty work. Unforunately, I cannot find a single pofessional in Bangalore who is good enough. The gun bags, stock finishing, bluing, minor repairs, etc. are all a result of necessity rather than interest and passion.
Mack The Knife
- eljefe
- Old Timer
- Posts: 2871
- Joined: Sun Jun 04, 2006 3:37 am
I agree Mack The Knife. Vikram, its the stark state of affairs here in India,where we have a majority of bed pan salesmen passing off as 'gun mechanics' this has led to many of us here developing our gun knowledge to the extent, tearing a gun apart , fixing and 'tarting it up' becomes a routine.And you havent heard about the 11 degree crown cutting yewt...
Great news for IFG gun lovers, getting an illustrated tutorial on many aspects of gun smithing- from air guns, to restoration of a double.Now you know why I wanted Mack The Knife to do up my rifle
Best
Axx
Great news for IFG gun lovers, getting an illustrated tutorial on many aspects of gun smithing- from air guns, to restoration of a double.Now you know why I wanted Mack The Knife to do up my rifle
Best
Axx
''It dont mean a thing, if it aint got that zing!''
"...Oh but if I went 'round sayin' I was Emperor, just because some moistened bint lobbed a scimitar at me, they'd put me away..."
- mundaire
- We post a lot
- Posts: 5410
- Joined: Mon May 22, 2006 5:53 pm
- Location: New Delhi, India
- Contact:
Rusty,
You might find this link useful.
Nice post, will be looking forward to reading more, as your project progresses.
Cheers!
Abhijeet
You might find this link useful.
Nice post, will be looking forward to reading more, as your project progresses.
Cheers!
Abhijeet
Like & share IndiansForGuns Facebook Page
Follow IndiansForGuns on Twitter
FIGHT FOR YOUR RIGHTS - JOIN NAGRI NOW!
www.gunowners.in
"Political tags - such as royalist, communist, democrat, populist, fascist, liberal, conservative, and so forth - are never basic criteria. The human race divides politically into those who want people to be controlled and those who have no such desire." -- Robert Heinlein
-
- We post a lot
- Posts: 5775
- Joined: Mon May 22, 2006 6:23 pm
Re: How to give your stock a BASIC oil finish.
Thanks, Abhijeet.
Using a scrapper / blade to remove the existing finish is certainly a novel idea. Must try it on Asif's double.
Mack The Knife
Using a scrapper / blade to remove the existing finish is certainly a novel idea. Must try it on Asif's double.
Mack The Knife
-
- We post a lot
- Posts: 5775
- Joined: Mon May 22, 2006 6:23 pm
Re: How to give your stock a BASIC oil finish.
Asif,
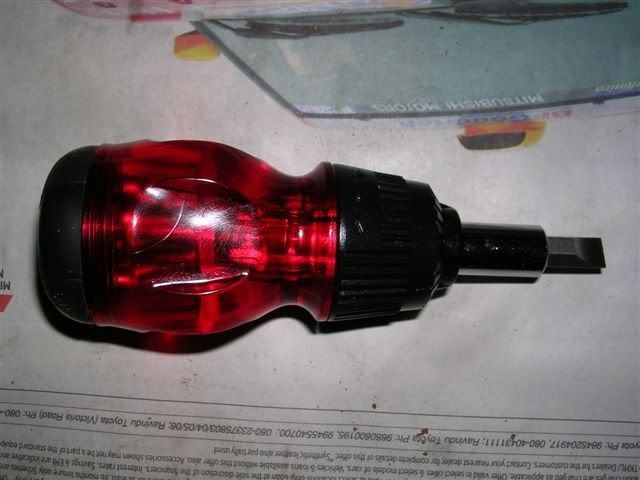
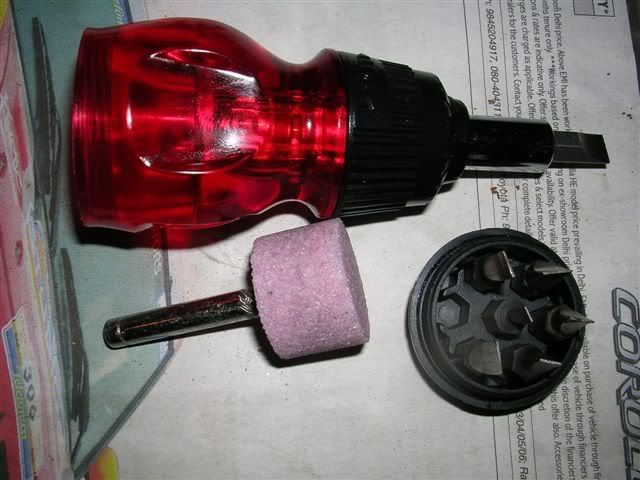
Grumpy told me to stop faffing around looking for a set of pro turnscrews and to just grind down whatever was available. He did recommend that it be a dumpy (short shank) one.
This is what I bought for 185 chips, plus another fiver or so for three more bits.
I have yet to harden the bits after grinding them to size. Does anyone know how to do this correctly?
Mack The Knife
- HSharief
- Shooting true
- Posts: 568
- Joined: Tue May 23, 2006 6:11 pm
- Location: Misriganj
-
- We post a lot
- Posts: 5775
- Joined: Mon May 22, 2006 6:23 pm
Re: How to give your stock a BASIC oil finish.
Hi Sharief,
Those scratches can be filled with the sawdust coming off the stock. Mix it with clear epoxy and press it in. Let cure and continue sanding.
However, I am not too bothered about filling scratches, raising dents, removing the dark spots (thanks to gun oil that has seeped in), etc. as I need to have this gun up and ready by 25th night. Most of the time will go between the curing of oil coats.
Perhaps I should have used a cleaner stock for this exercise but I am happy to just give the stock a new protective layer and leave it at that.
Mack The Knife
Re: How to give your stock a BASIC oil finish.
Mack The Knife,
If you fill in any dings in the stock with a mixture of epoxy and saw dust,that part would come out as a dark spot in the final finish.If the stock is of walnut ( you will get to know when you sand it,your hands will tell you) if you use water based adhesive,this would also darken that spot.You can save saw dust from a walnut stock,soak it in water and use it as wood stain. Hair dryer works very well in taking out excess oil.Apply some fine powder on the part you are heating and this helps to soak up the oil.Brush away the powder and then repeat.Heating the wood to remove oil might also shrink the stock so do it carefully.Ooops.I am giving suggestions to a man who has more experience in this than I and who has a master to guide him
penpusher