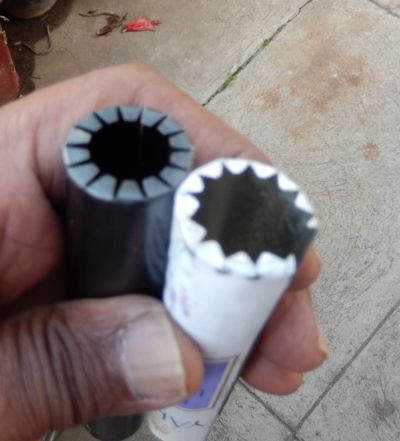
BSA Mercury Mk2 restoration...
Posted: Mon Nov 10, 2014 10:40 pm
been a long time..was busy on the domestic front.
got the BSA back from my nephew , and it was in a mess. so decided to do a basic , budget home restoration on it.
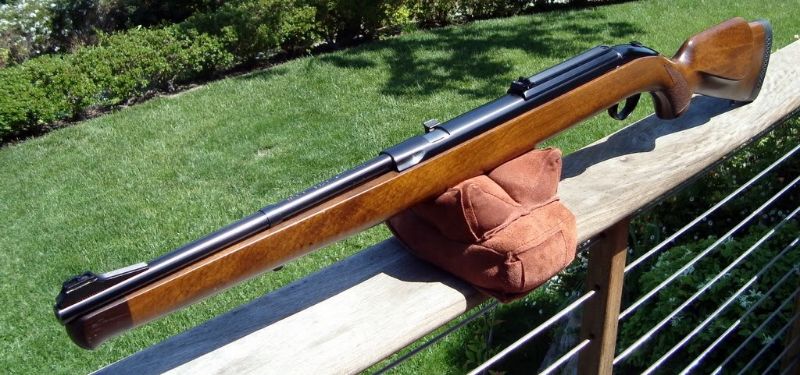
this is the BSA Mercury Mk2 in .22 with the ZB prefix before the serial number..which was made between 1974 and '78. the Mk1 was between 71 /73; there was also a MK3 between 79/80 followed by Mercury S/ Challanger which ( i think) went on till 81/82.
most of the paint.... the original MK2 was painted a deep black , not blued...had peeled off. so decided to remove all of it and repaint with a matt black finish. getting all the old paint was not easy but....

as i mentioned ..budget and basic...tried Bosny acrylic aerosol spray paint. i could not get any aerosol primer , so used an epoxy primer paint , again from Bosny as a base. took a few practice runs with it and after a few fumbles got going. pretty easy if one remembers to keep the can about a foot from the part to be painted. dries very fast and i applied the second coat of primer after half an hour. i sprayed the black colour the next day and followed it up with two more coats with one and two hour gaps respectively. left it for two days than rubbed it down with ballistol ( wonder why ???).
not too bad nor good and i doubt it will last long, but 'budget' is the key word ! an enamel spray with a regular primer will of course give a better finish. now if only durocoat firearm finish could be got here....

the barrel


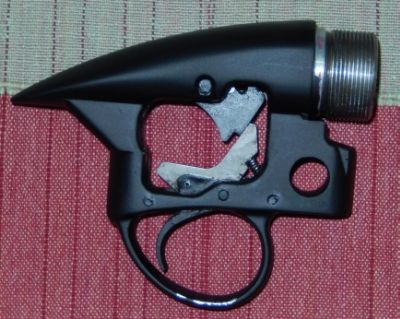
trigger unit... basic yet very beautifuly designed but a pita to assemble. the rough edges on the trigger guard is because i had hung it up on wire . will touch up later.
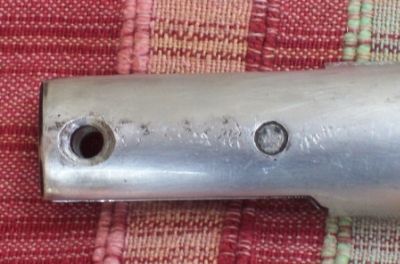
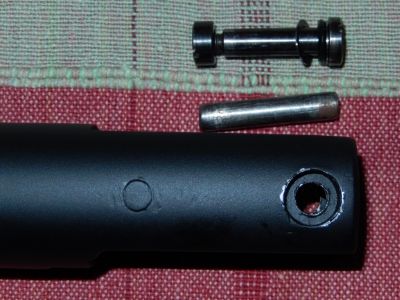
the Mk2 had a pin as the barrel hinge, which was not good as the pins tended to loosen over time. on the Mk3 BSA had put in a bolt and nut. sourced these and a couple of other minor parts from ChambersTW ( got them in exactly a week ). did the drilling and the counter drilling at home. pretty satisfied...and do those high speed drills jump !!
will be replacing the stock screws and washers with bucket washers and allen screws. have always found them better
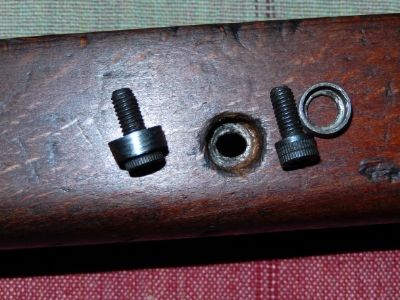
the stock is in very bad shape and will need a lot of work. the front screw inlets are badly worn in BUT all that will be in phase 2.
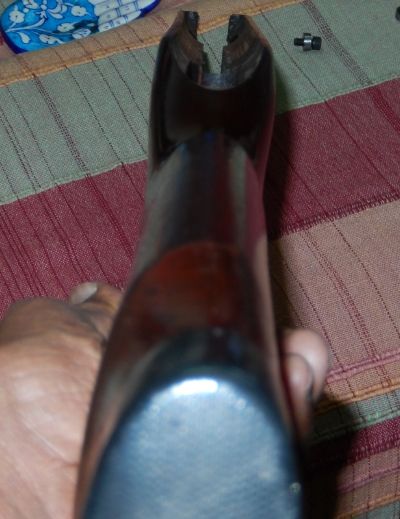
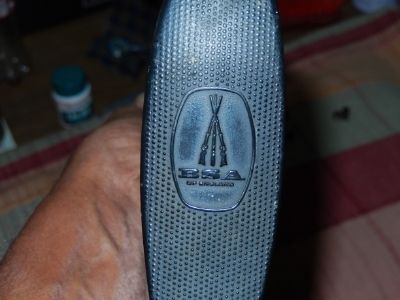
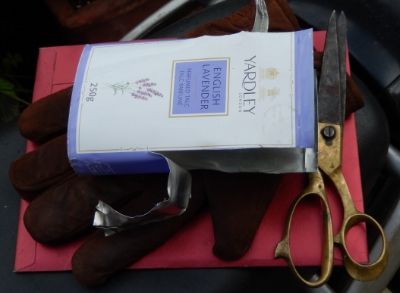
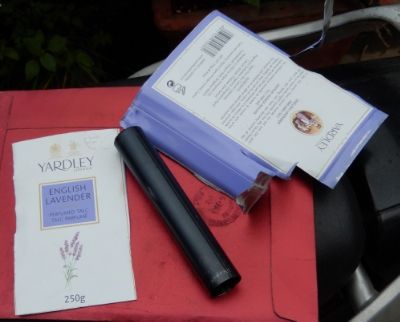
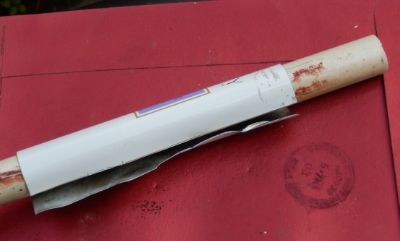
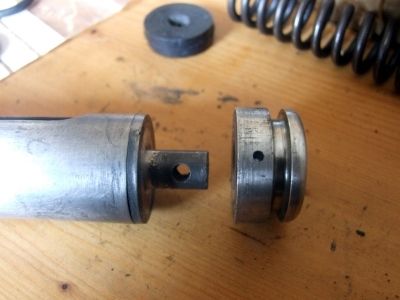
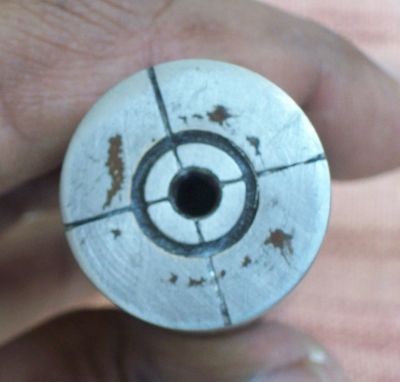
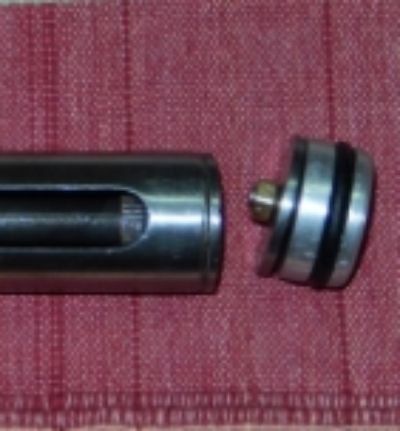
i had done this mod a while back. the original piston ( 1st picture below) has the piston latch come through the face of the piston and the piston head attached to it with a pin. the thick washer in the background fits in between the piston head and piston face. now the picture below is of a professionally done job , where the part that comes through the face is cut down , the piston head rotated 90 degrees and a new hole drilled through both to seat the head ( without washer ) with the pin. my mod was done in the days before the internet.....so i lopped of all, drilled a hole down the latch and piston head ,so that i could screw it in. all to get more swept volume !!the Mercury is a 10 ft lb gun from factory and i guess i must have got a ft lb more. BUT with a Beast main spring the gun was perfect in that power. the mod is in no way unsafe.( in the 3rd picture the bolt on the screw is to just hold the washer so that i do not loose it ).
job 1 over ( for now ). the white marks on the breach block and barrel are molly.job 3 , work on the stock and job 4 redo the entire job 1 with quality paint !!
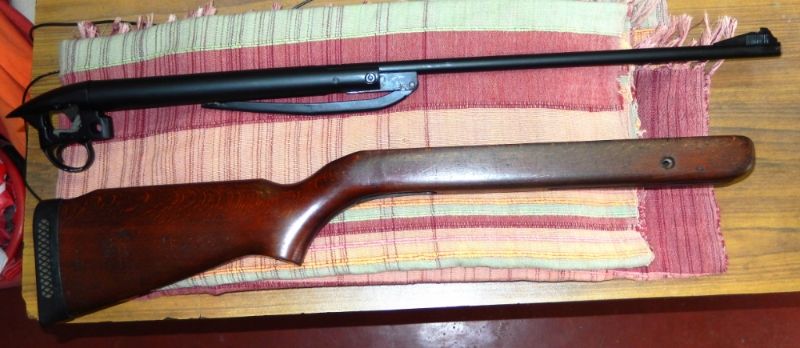

job 2 i will be putting in a new kit from Woodfield GCP..only place i could find a Mercury kit. http://woodfield-gcp.co.uk/?product=1636. Chambers and Knibbs have kits ...mass produced though.( for those who knew Triths...Will , who owns Woodfield GCP was his UK dealer )
got the BSA back from my nephew , and it was in a mess. so decided to do a basic , budget home restoration on it.
this is the BSA Mercury Mk2 in .22 with the ZB prefix before the serial number..which was made between 1974 and '78. the Mk1 was between 71 /73; there was also a MK3 between 79/80 followed by Mercury S/ Challanger which ( i think) went on till 81/82.
most of the paint.... the original MK2 was painted a deep black , not blued...had peeled off. so decided to remove all of it and repaint with a matt black finish. getting all the old paint was not easy but....

as i mentioned ..budget and basic...tried Bosny acrylic aerosol spray paint. i could not get any aerosol primer , so used an epoxy primer paint , again from Bosny as a base. took a few practice runs with it and after a few fumbles got going. pretty easy if one remembers to keep the can about a foot from the part to be painted. dries very fast and i applied the second coat of primer after half an hour. i sprayed the black colour the next day and followed it up with two more coats with one and two hour gaps respectively. left it for two days than rubbed it down with ballistol ( wonder why ???).
not too bad nor good and i doubt it will last long, but 'budget' is the key word ! an enamel spray with a regular primer will of course give a better finish. now if only durocoat firearm finish could be got here....

the barrel


trigger unit... basic yet very beautifuly designed but a pita to assemble. the rough edges on the trigger guard is because i had hung it up on wire . will touch up later.

the Mk2 had a pin as the barrel hinge, which was not good as the pins tended to loosen over time. on the Mk3 BSA had put in a bolt and nut. sourced these and a couple of other minor parts from ChambersTW ( got them in exactly a week ). did the drilling and the counter drilling at home. pretty satisfied...and do those high speed drills jump !!


will be replacing the stock screws and washers with bucket washers and allen screws. have always found them better


the stock is in very bad shape and will need a lot of work. the front screw inlets are badly worn in BUT all that will be in phase 2.


i had done this mod a while back. the original piston ( 1st picture below) has the piston latch come through the face of the piston and the piston head attached to it with a pin. the thick washer in the background fits in between the piston head and piston face. now the picture below is of a professionally done job , where the part that comes through the face is cut down , the piston head rotated 90 degrees and a new hole drilled through both to seat the head ( without washer ) with the pin. my mod was done in the days before the internet.....so i lopped of all, drilled a hole down the latch and piston head ,so that i could screw it in. all to get more swept volume !!the Mercury is a 10 ft lb gun from factory and i guess i must have got a ft lb more. BUT with a Beast main spring the gun was perfect in that power. the mod is in no way unsafe.( in the 3rd picture the bolt on the screw is to just hold the washer so that i do not loose it ).


job 1 over ( for now ). the white marks on the breach block and barrel are molly.job 3 , work on the stock and job 4 redo the entire job 1 with quality paint !!


job 2 i will be putting in a new kit from Woodfield GCP..only place i could find a Mercury kit. http://woodfield-gcp.co.uk/?product=1636. Chambers and Knibbs have kits ...mass produced though.( for those who knew Triths...Will , who owns Woodfield GCP was his UK dealer )
