My SAMURAI 3G - 0.22cal
Posted: Tue Nov 29, 2011 12:07 pm
My ‘SAMURAI 3G’ – 0.22cal
PROLOGUE
After my Maha Makeover of my IHP35 0.22cal, I HAD to go in for another re-engineering, simply because “WITH ENHANCED POWER I BEGAN LOSING ON ACCURACY”. The ENHANCED POWER also resulted in the fore-end screws and the one under the trigger guard, getting loose and had to be tightened after every 15 / 20 shots & finally the threads were progressively getting worn-out. This was frustrating & here’s what I did….
1.The holes in the receiver bracket were resized & tapped to take on slightly larger screws. Replaced with hexagonal heads + washers instead of slotted heads. Easier & neater to use spanners than special flat-head screwdrivers.
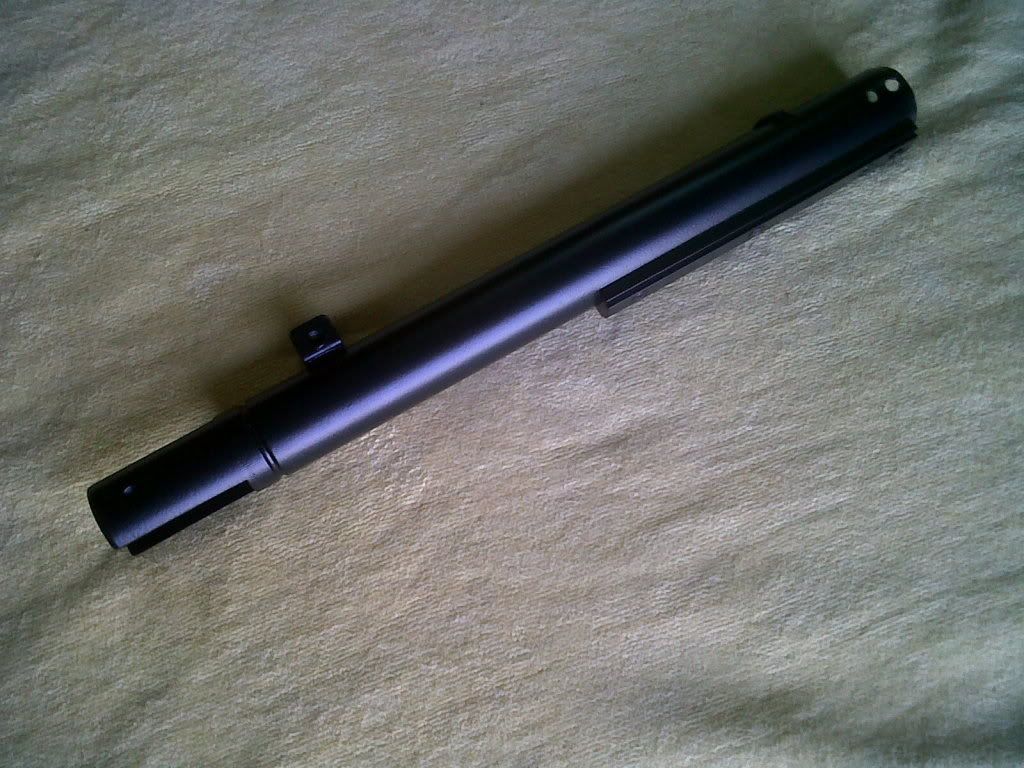
2.Had the receiver with the scope-mount black powder coated and sprayed the outer surface with a matte melamine coat, to make it scratch resistant.
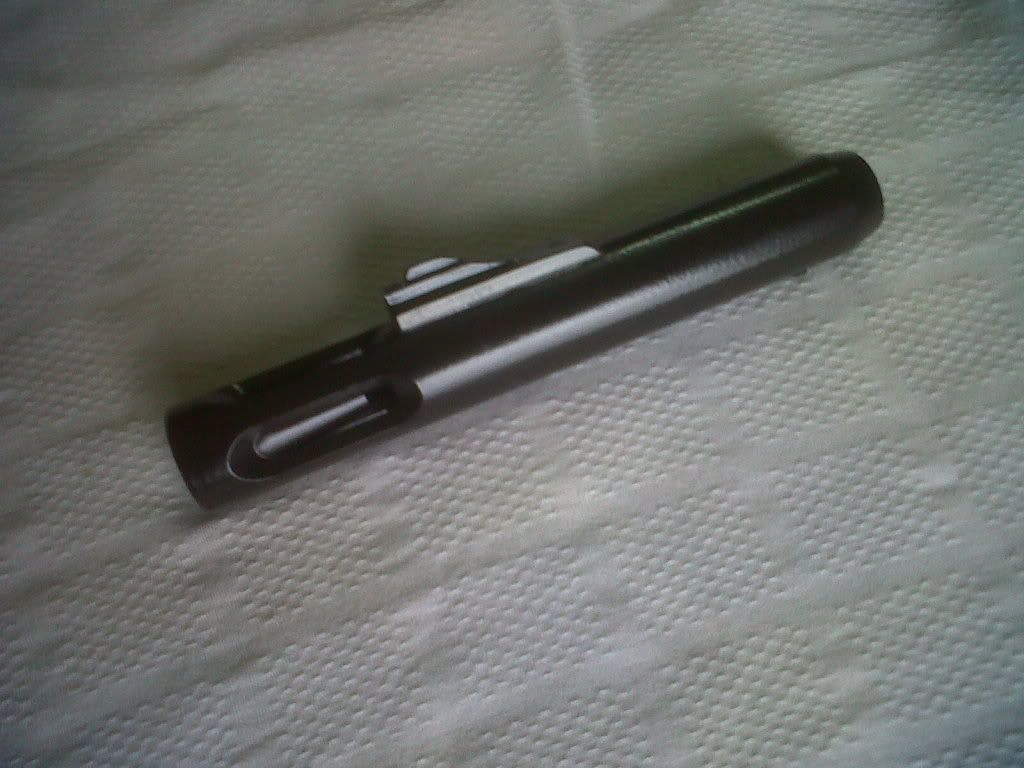
3.The internal of the receiver was then given a good cleaning with a wire-gauze wound around a wooden shaft attached to my 13mm drill & run at low speed.
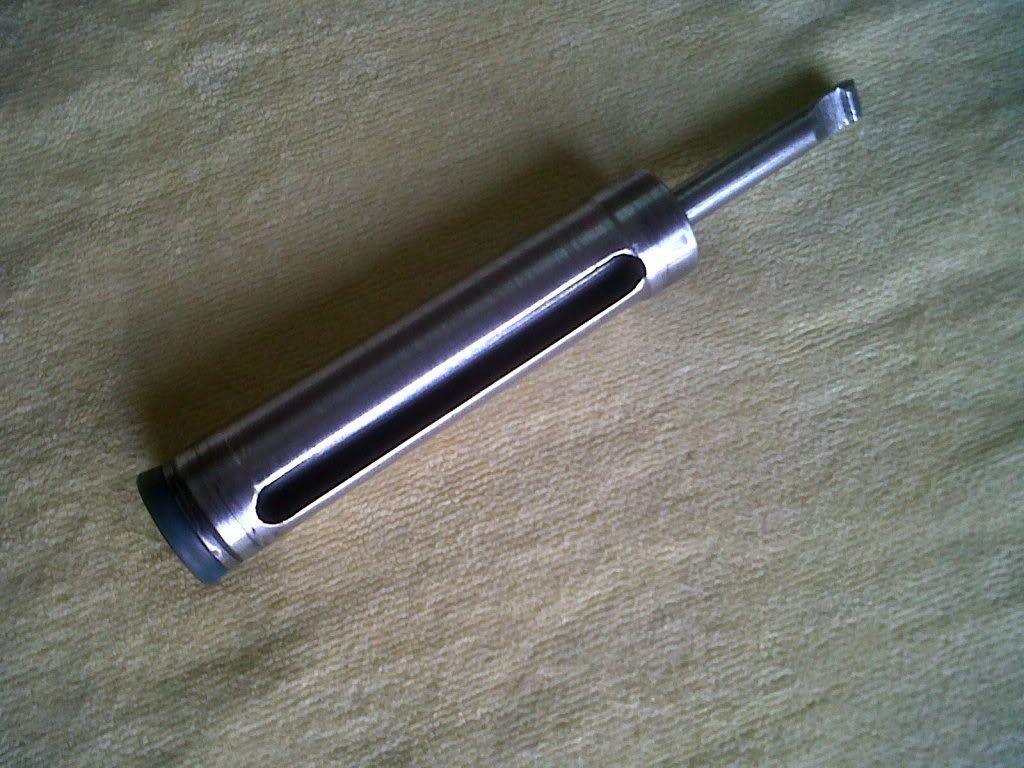
4.The piston middle was re-sized by shaving off approx 1mm on a lathe & polished to a smooth finish.
5.The loss in weight was compensated by increasing the weight of the ‘Top Hat’ by approx. 1.5gms.
6.Fixed a brand new synthetic seal + a new adapter.
7.Installed a new specially fabricated TM spring + rear guide + top hat (both CNC machined out of SS) to ensure a snug fit of these in the spring – very necessary. I realized that imported springs are not made to suit Indian Made air guns because the receiver / power plant’s specifications are different than those made abroad.
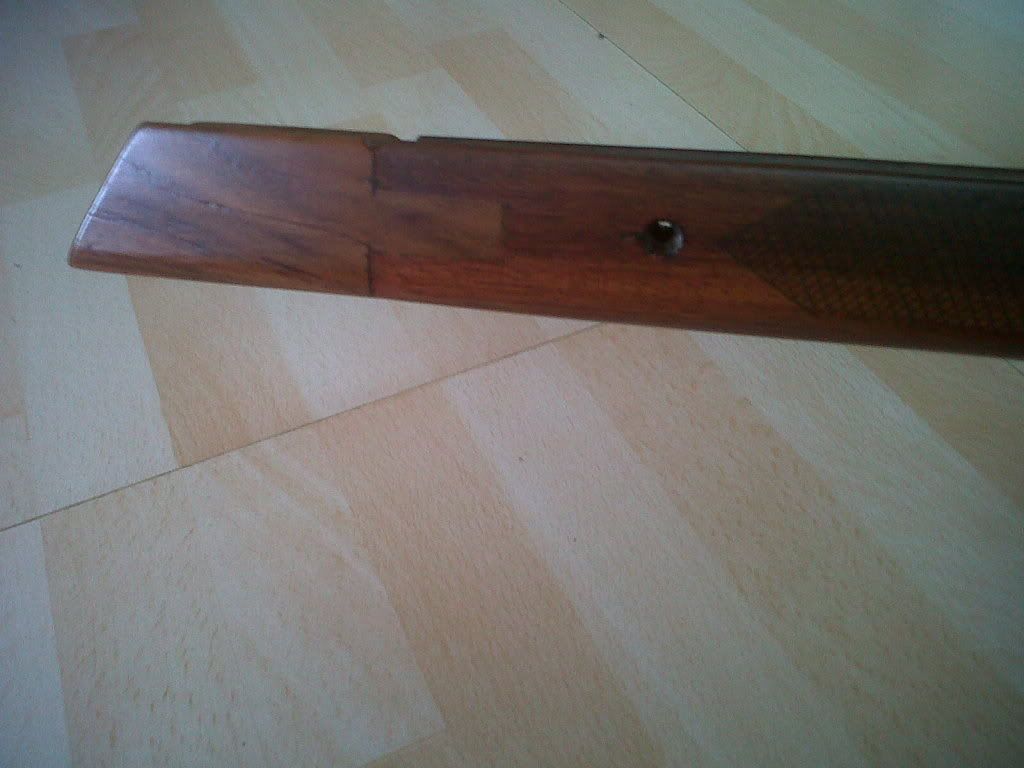
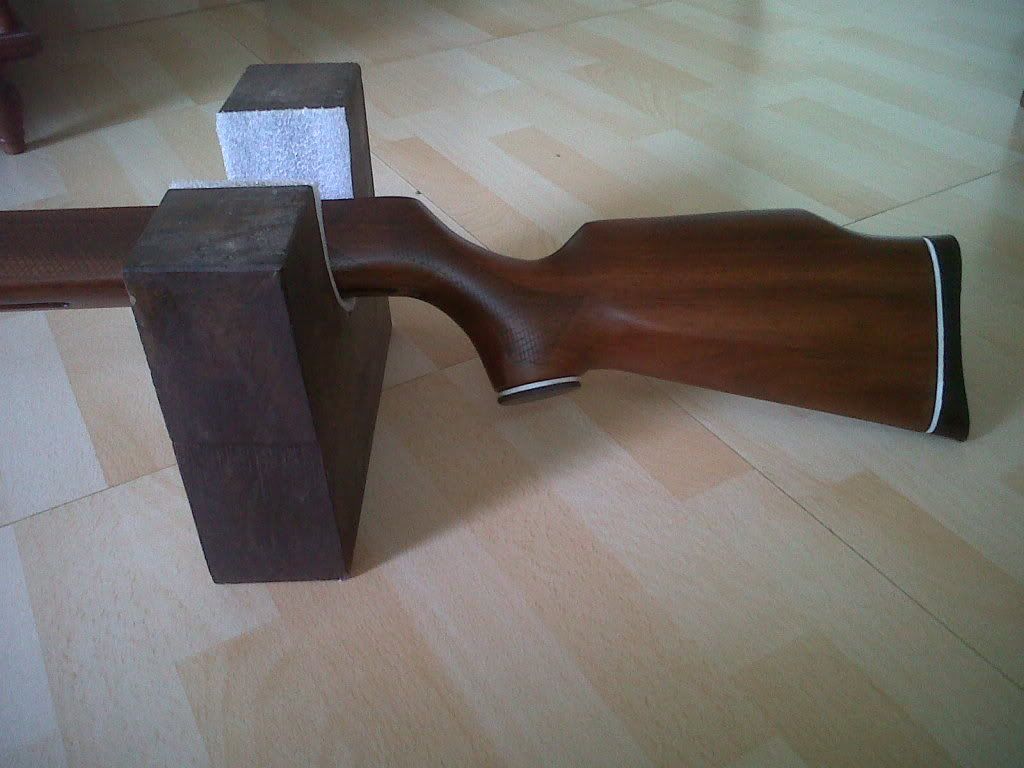
8.The stock was extended through a mortise joint at the fore-end of the stock by roughly 2 3/4th inches to lend a bit of aesthetics in the overall look.
9.The stock was then sanded to a smooth finish, after which 3 coats of oil was applied (24hr drying between coats)
10.The stock was again sanded to a final finish & sprayed 2 coats of matte-melamine coating.
11.Added white spacers between the butt end & shoulder pad & underneath the pistol grip to give it a dandy look.
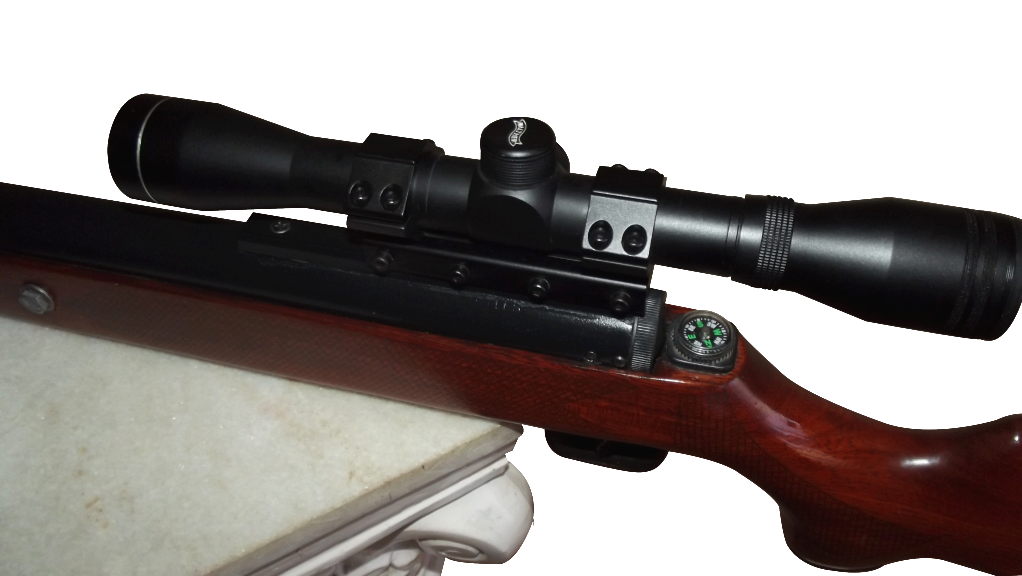
12.Found a ‘compass’ the size of a ’50p coin’ at Archie’s – had it fixed above the pistol grip at the receiver end, looks jazzy!
13.Fixed an original Diana35 micro-metric rear sight, bought from TW Chambers UK.
14.Added a newly designed front sight (machined out of aircraft grade aluminum and black powder coated) on to the Muzzle Brake and had it aligned with the rear sight.
15.Mounted a ‘shroud’ made out of high impact poly-propylene tube, cut to size & slotted – cuts off any glare on the front sight blade while aiming - helps better focus on the target.
16.The addition of the muzzle-brake has considerably reduced the cocking effort + the tonal quality of the noise after firing sounds good.
17.Polished the piston & trigger sears using a jeweler’s file & moist emery paper – the trigger is a lot smoother now.
18.My Walther 4 x 32 AO / AR scope was fitted with a one piece UTG mount with built-in scope stopper – the scope now sits firmly and doesn’t shift when the gun is fired.
19.Replaced the original leather breech seal with a 0.25mm thick metal shim & 2.75mm thick double walled (co-extruded) neoprene rubber washer.
20.After assembly the velocity was measured with a hand held digital chronograph –
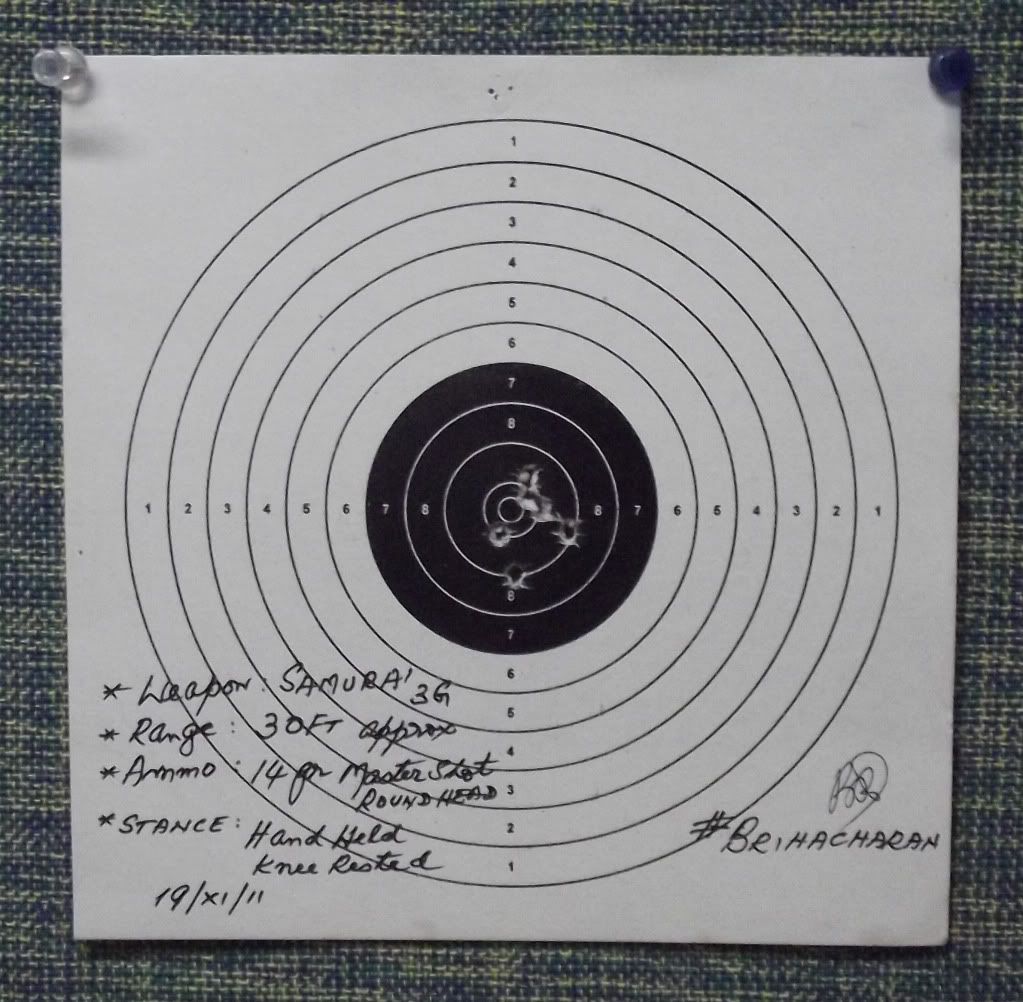
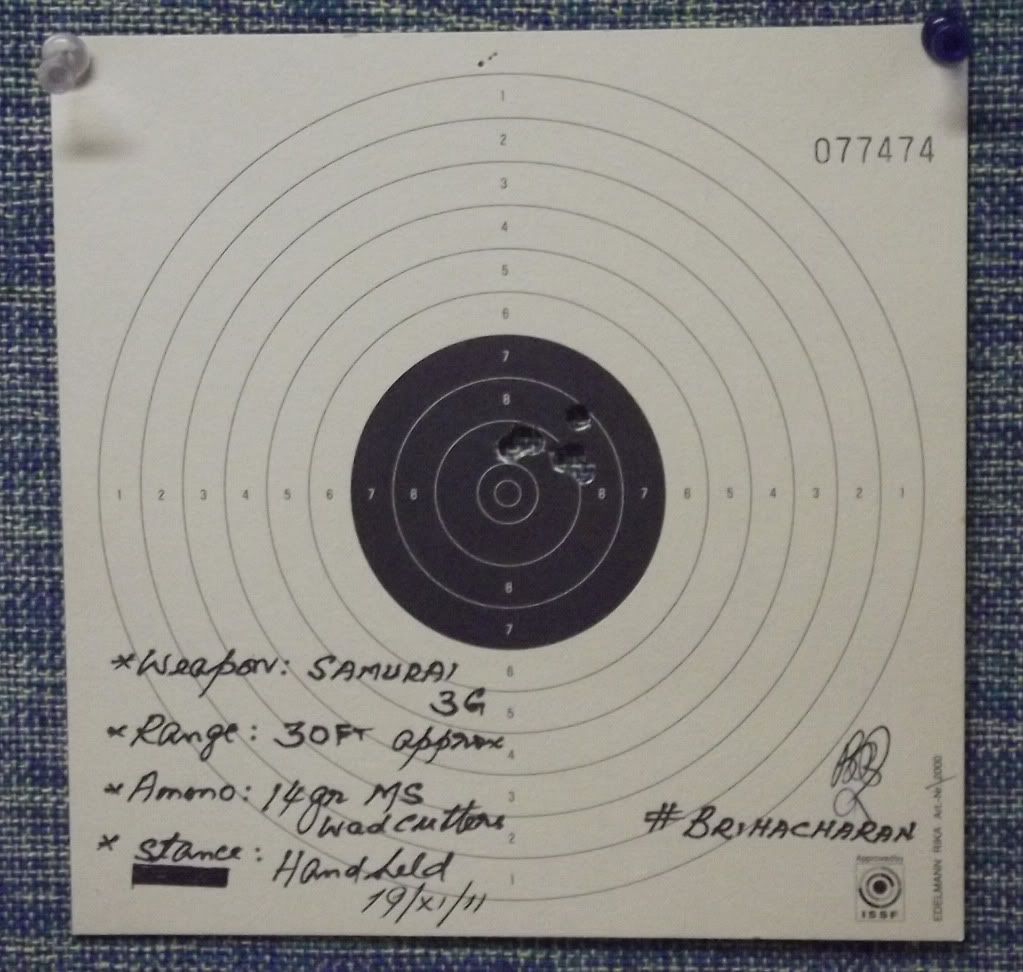
Using Master Shot 14gr Round Heads, initial fps was 620 and finally settled down to 610. However pellets of different makes gave different readings - 16gr Magna Shot recorded 570 / 590fps. At approx. 30ft the groupings were a consistent 5/8”, with wad cutters.
21.This DIY experience although time consuming & challenging, was very satisfying and FUN doing it!
22.The Gun Rest you see in the PICS is my design – made with the help of a local carpenter.
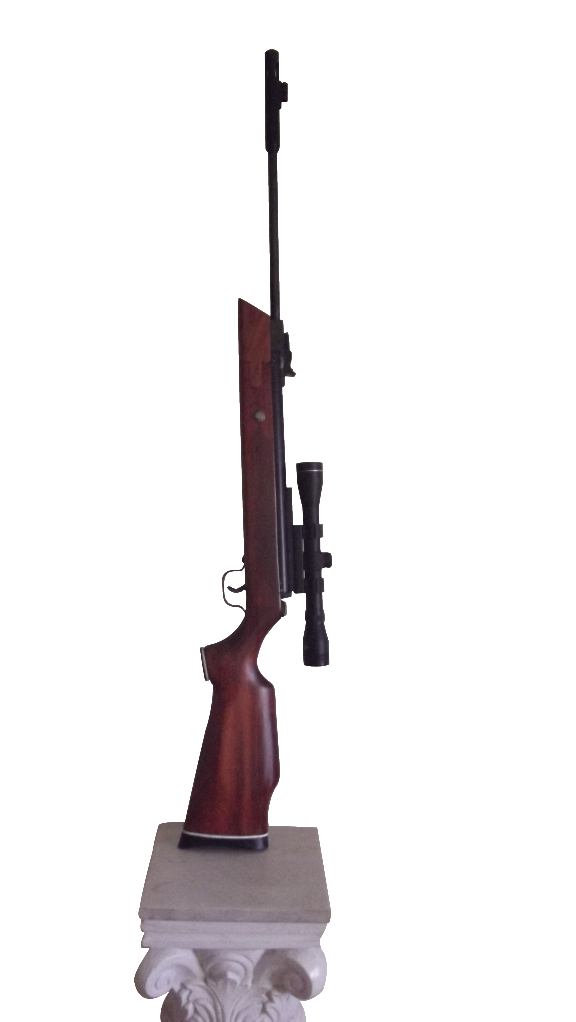
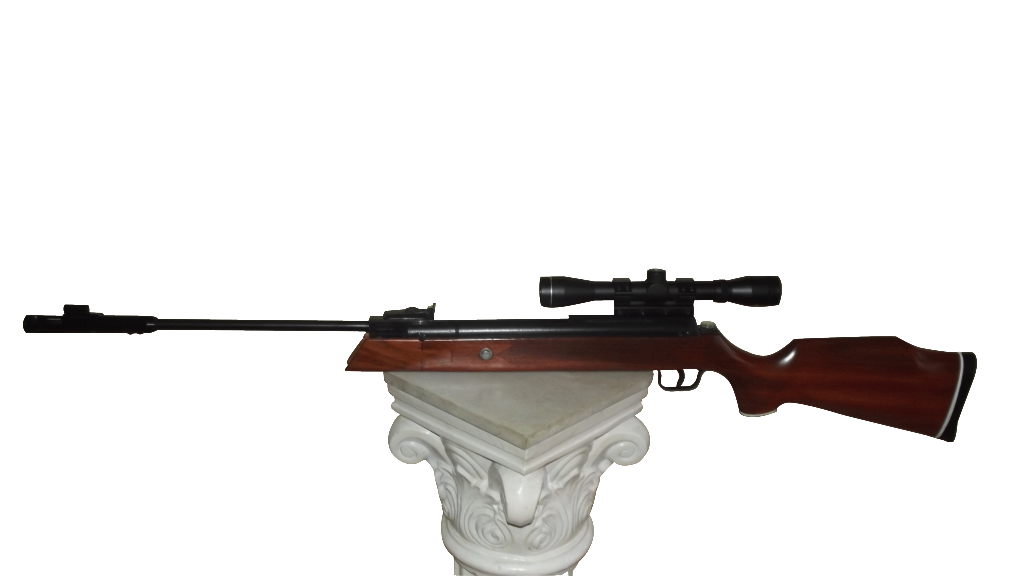
I’ve named this new creation of mine ‘SAMURAI 3G’
•Looks GOOD!
•Feels GOOD!!
•Shoots GOOD!!!
> Attached are a few images and the test results.
> SAMURAI 3G - Specifications:
1. Weight: 8. 15lbs – w/o scope 9.20lbs with Scope & mount
2. Barrel Length: 18” including Muzzle Brake
3. Capacity: Single round
4. Cocking Effort: 34 lbs approx.
5. Barrel: Rifled
6. Front Sight: Blade / Ramp + Shroud
7. Rear Sight: Diana35 Micrometric with Fibre optics on V groove - adjustable for Windage & elevation
8. Scope / mount: Walther 4 x 32 AR / AO UTG One piece with scope stop mounted on 11mm scope rail
9. Trigger: Single stage with 3.25 lbs pull (approx)
10.Butt-pad: Hard rubber + white spacer
11.Action: Break barrel / Spring-piston + SS rear guide + SS top hat + synthetic seal
12.Caliber 0.22 / 5.5mm
13.Velocity: 580fps with 16gr & 610fps with 14gr lead pellets
EPILOGUE
While conceptualizing the re-make, aesthetics & ergonomics that went into creating the end product was palpable and time consuming, the resultant ecstasy I derived from the DIY was immeasurable. It was an indelible revelation that made me realize that the dynamics of an Air Rifle is a world apart from Firearms wherein the principles of basic physics and mechanical engineering play a functional & dominant part. This experience has been borne out of my having used a Winchester 30.06 rifle & a Midland 12 gauge DBBL gun extensively. If I may share my considered opinion and experience, I wish to sincerely advice all Air Rifle aficionados that – PLEASE DON’T COMPROMISE ON ‘ACCURACY & SHOOTING PLEASURE’ WHILE YOU ARE IN PURSUIT OF ADDING ‘VELOCITY & POWER’ TO YOUR INDIAN MADE AIR RIFLES, WHILE GETTING THEM TUNED. THE OBJECTIVE OF TUNING AN AIR RIFLE IS TO MAKE IT FUNCTION SMOOTHLY, EFFICIENTLY AND SHOOT ACCURATELY, THUS MAKING AIR RIFLE SHOOTING AN ENJOYABLE EXPERIENCE.
Cheers - BRIHACHARAN


