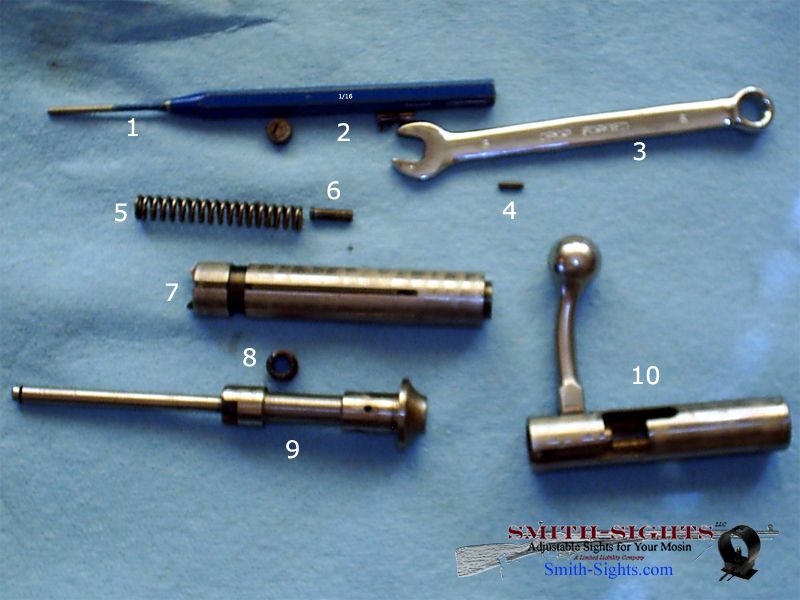
Refer to the pic below.
To disassemble, rotate the bolt to the fired position. Chuck an 8mm open end wrench (3) into a vice. Pull the front (7) and rear parts of the bolt apart against spring pressure, and lower the exposed nut (8) onto the 8mm wrench. Spin the front section of the bolt off the nut. Set it aside; the front doesn't need to come apart further for this repair.
Pad the vice and chuck the rear section of the bolt (10) into the vice. Compress the spring using your fingers or a 7mm box end wrench and pull the E-clip off the striker. Slowly release the spring so it doesn't go flying.
You can now pull the spring (5) and nut (8) off.
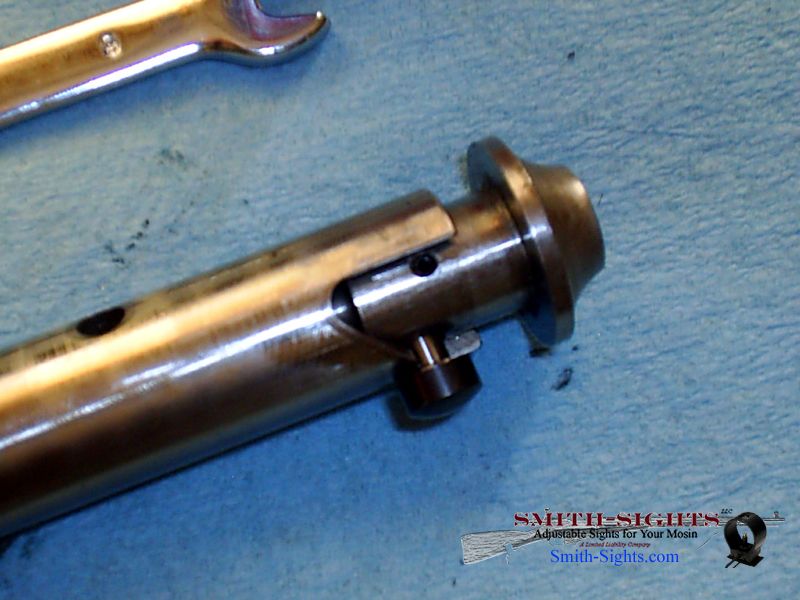
Pull the striker (9) back until you see the sear contact pin (6) through the witness hole. Push it out with a punch; it's not a press fit and should readily come out.
You can now pull the striker (9) out of rear of the bolt body (10).

Tap the tension pin (4) out of its hole with a 1/16" punch. This will release the guide pin (2 -- shown in two parts because it broke upon disassembly!)
Upon inspection, I found the cam surfaces to have a rough and jagged edge, much like a file. I took some time with my stone set and smoothed those out.
The guide pin should turn in its socket without catching. Mine didn't; it caught with the tension pin in place. I took time to polish the guide pin hole with first 800 then 2000 grit wet/dry, and I polished the tension pin as well.
The guide pin received 2000 and 3000 grit polish, as did the bolt sear contact pin.

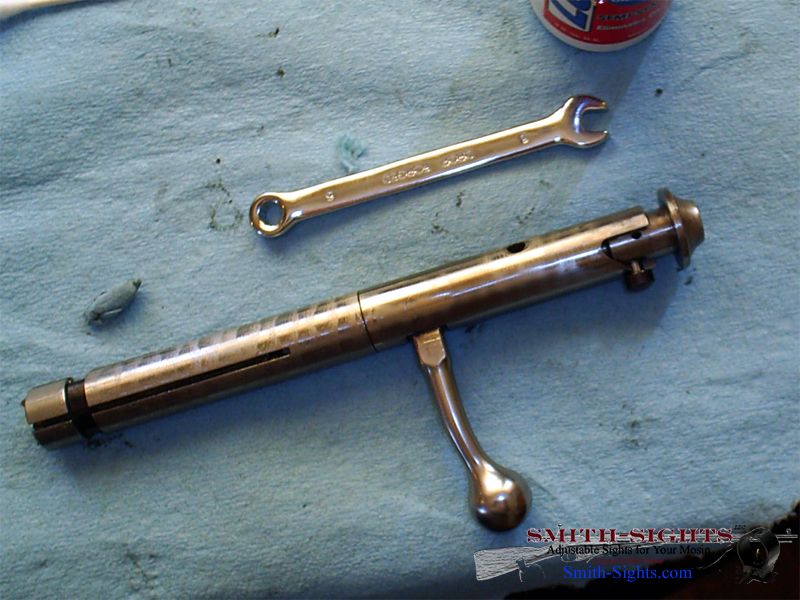
After you're satisfied with the fit and polish of parts, assemble them, checking again as you go.

Nothing to it! It's not as irritating as some bolts, but not as easy as others. I would rate the Mosin-Nagant, Gewehr 88, and Mauser 98 bolts as a 1 in difficulty on a 1-10 scale. This would rate about a 3 in my opinion, due to the need for tools.
Hope this helps someone.
Regards,
Josh


