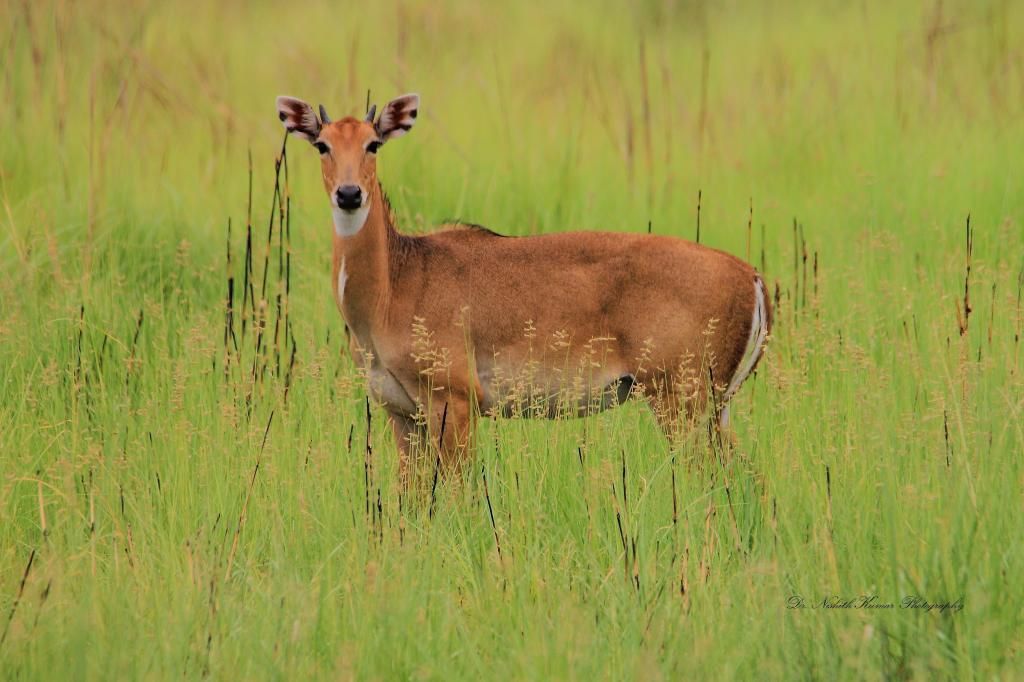
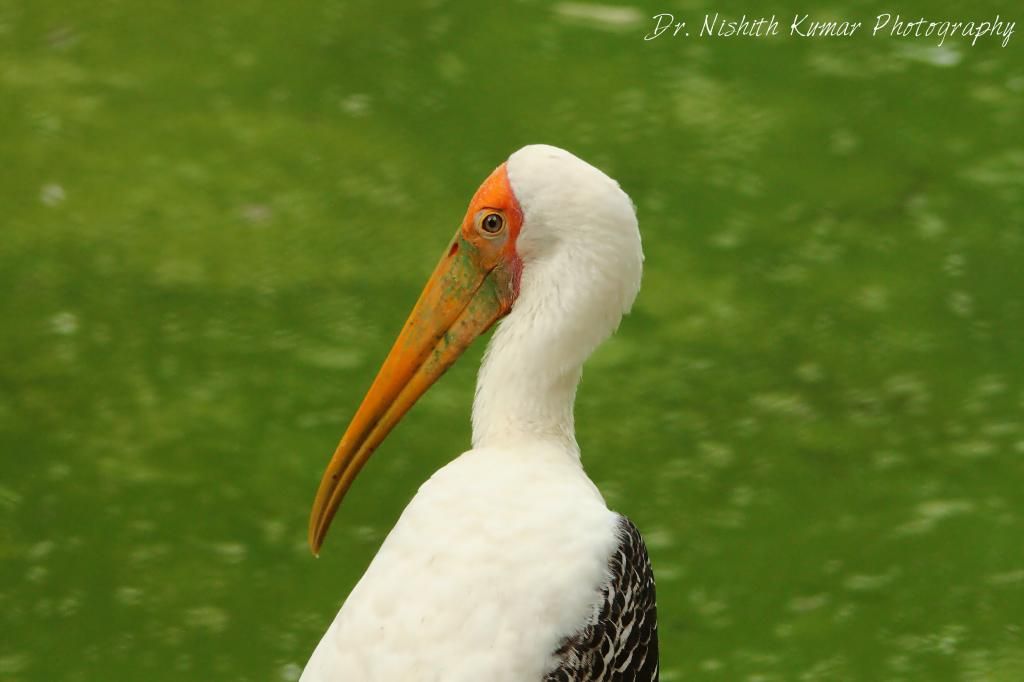
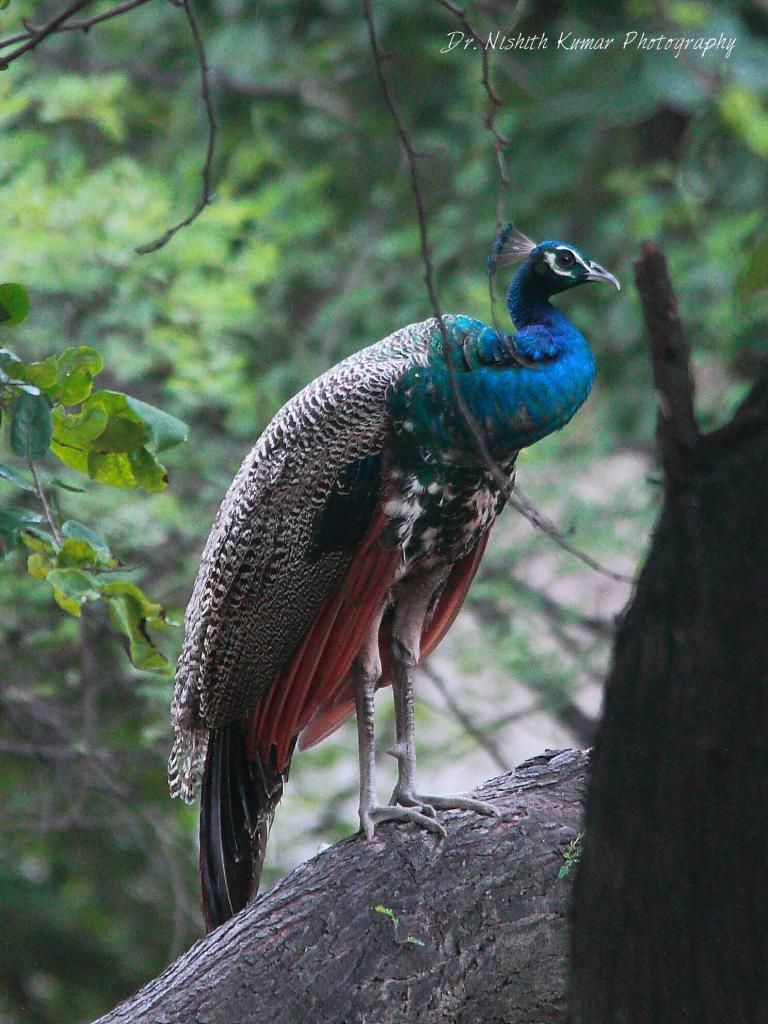
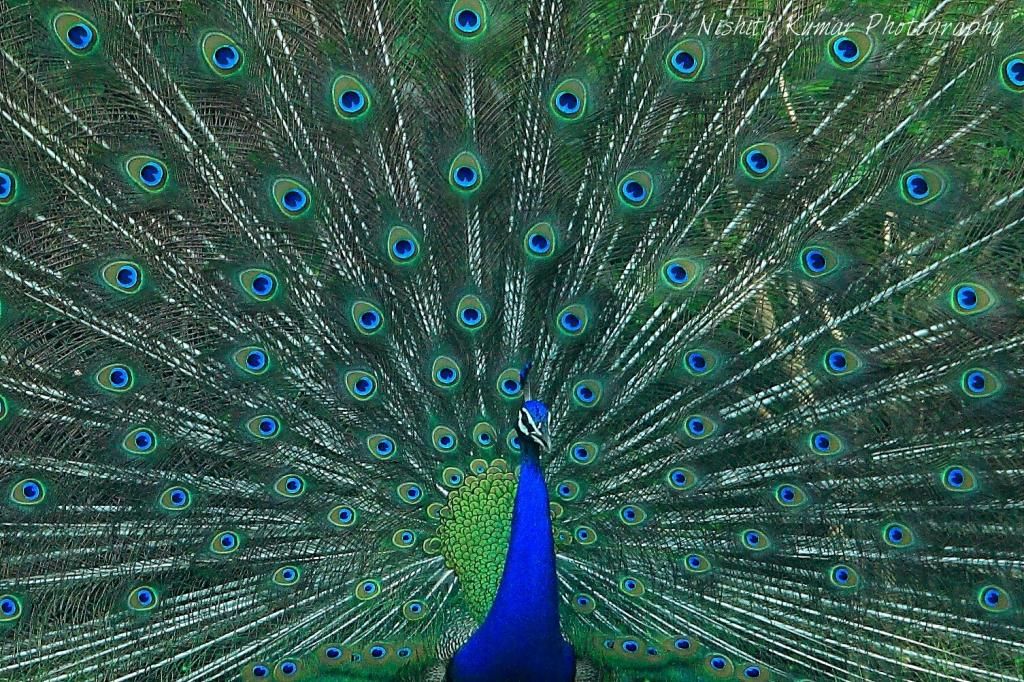
dr.jayakumar wrote:Thanks Brihaji for your comments.i am using a 2x teleconverter,so maybe the reason for dullness.''> Always 'bracket' your exposures of the same image.... i didn't get this sir.
few more pics.
regards
dr.jk
Hi Doc,
> Hope the following points will help you understand the technique of 'Bracketing', to get more pleasing photographs...
Bracketing Shots in Photography
Every aspiring photographer’s ultimate intension is to get as perfect a picture as possible, be it a composition, correct exposure or the perfect moment. So whatever subject you shoot, capturing detail is fundamental. And bracketing your exposures is one of the best and easiest ways to ensure you can produce images with a high dynamic range and lots of detail.
What is ‘Bracketing’?
Simply put it’s when you take multiple pictures that are slightly brighter and slightly darker than a normal shot.
Bracketing involves taking a sequence of pictures of the same scene at a varying range of exposure settings. There are two reasons you might want to do this; as a safety net to ensure you get at least one well-exposed picture of the scene (as camera exposure meters don’t always get it right first time), or to give you a range of exposures that you can blend together later in software.
The digital sensors in today’s cameras have a limited ‘dynamic range’. This means that they are only capable of capturing fine detail within a certain range of brightness levels.
The exposure that’s set at the time of shooting forms the mid-point of this range, and the camera can record detail either side of this, in areas that are slightly brighter or darker than this ‘middle’ setting.
Dynamic range can be measured in stops. For instance, if a camera offers nine stops of dynamic range, it means it can record detail in areas of a picture that are up to four stops brighter and up to four stops darker than the set exposure.
Contrast
It’s the difference between the darkest and brightest parts – of a scene will often fall within the camera sensor’s dynamic range, which means you can record detail in all areas in a single shot. However, high-contrast scenes may exceed the camera’s dynamic range, so you may end up with a picture that holds no detail in shady areas or bright areas or either.
For example, when you photograph a dark building backlit against a very bright sky the difference in brightness between the deepest shadows on the building to the brightest highlights in the sky may be as much as 10 to 12 stops.
This is likely to exceed your camera’s dynamic range, so it won’t be able to record detail in all of the areas of the picture in one attempt. As a result, you may find that you end up with a picture where the shadows are actually too bright, or the highlights are too dark. This will depend on the ‘middle’ exposure setting that’s selected by you, or automatically by the camera.
To overcome this limitation, you can try taking a whole sequence of shots at different exposures – from a short exposure that under-exposes the shadows (but ensures that the highlights aren’t burnt out) to a long exposure that reveals the detail in the shadows (but over-exposes the highlights).
The well-exposed parts of each of your sequence of shots can then be combined in Photoshop or similar software to create a high dynamic range (HDR) image.
Hence the best way to go about bracketing a shot is to:
1.Manually bracket a shot, or let the camera do it automatically. To manually bracket a series of images, set the camera to either:
• Aperture Priority
or
• Shutter Priority
Manual shooting modes more often than not give you optimum control over your exposures.
If you’re working in the first two modes, you can simply take your shot as normal, then use your camera’s Exposure Compensation function (press and hold the ‘+/-’ button) to take another shot that’s brighter by turning in a ‘+’ value or that’s darker by turning in a ‘-’ value.
The amount of compensation you need to turn in will depend on the scene and lighting conditions, and of course the final effect that you’re trying to achieve. Try 2/3 or ONE STOP either way to begin with.
In Manual mode, you can just adjust either the aperture or the shutter speed in order to give you a brighter or darker image.
All these may sound a bit confusing in the beginning, but if you keep using this technique consistently you can master it. The end results, of-course will be some of the best photographs you have ever taken!!!
Good Luck

Briha


